|
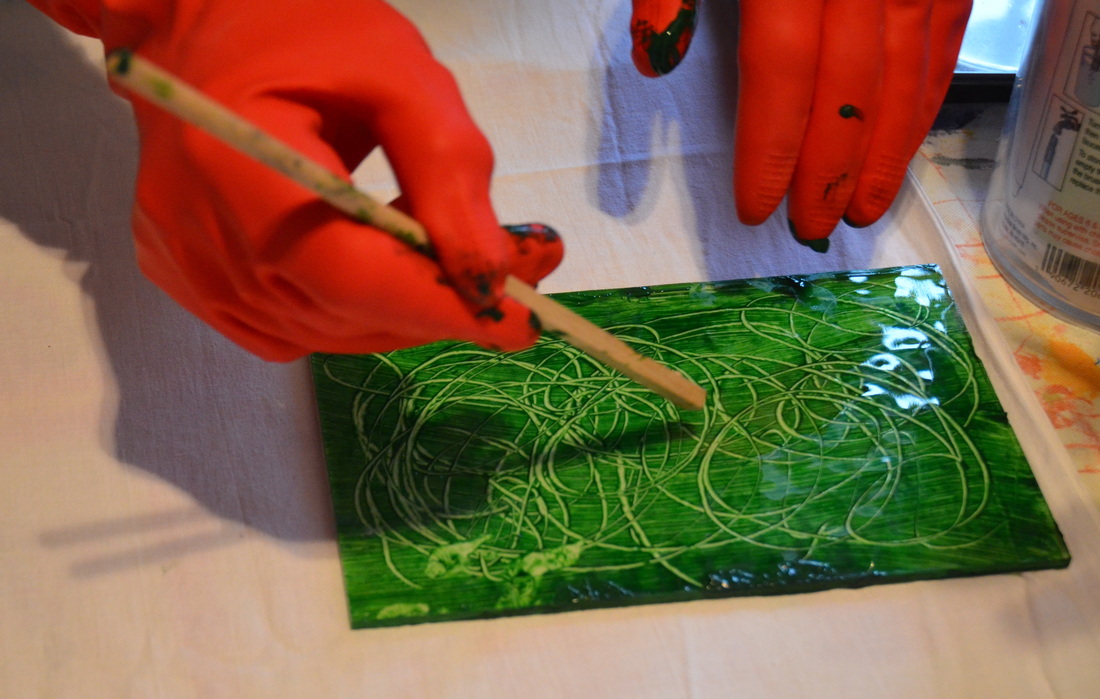
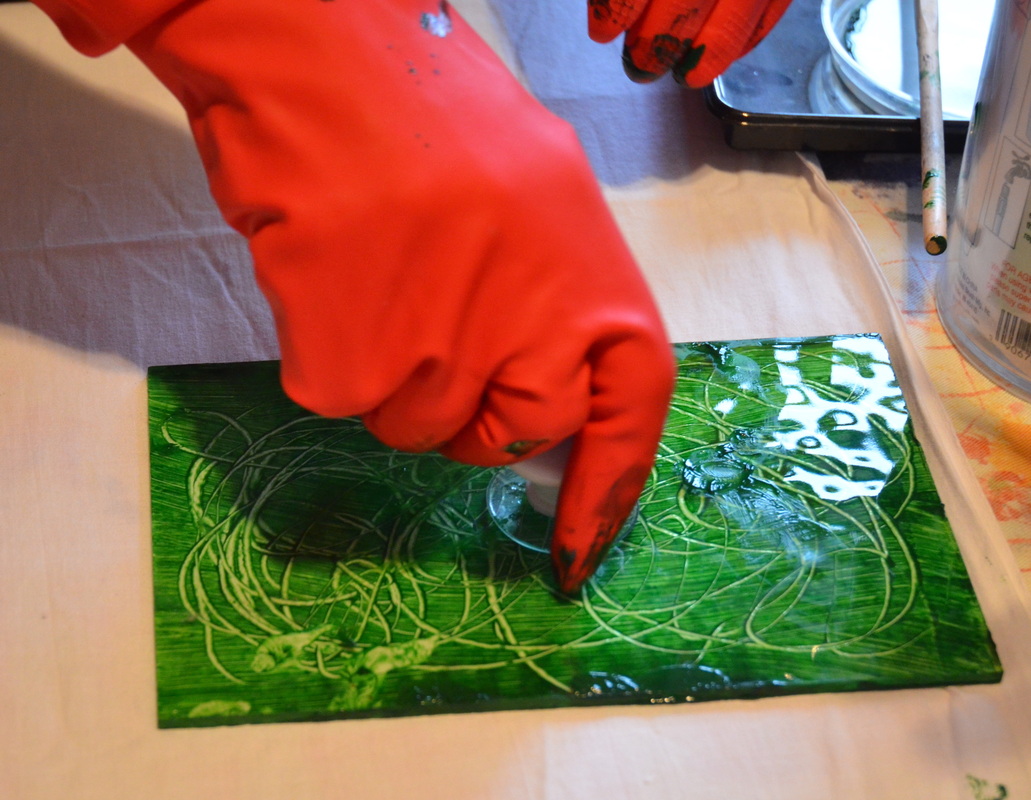
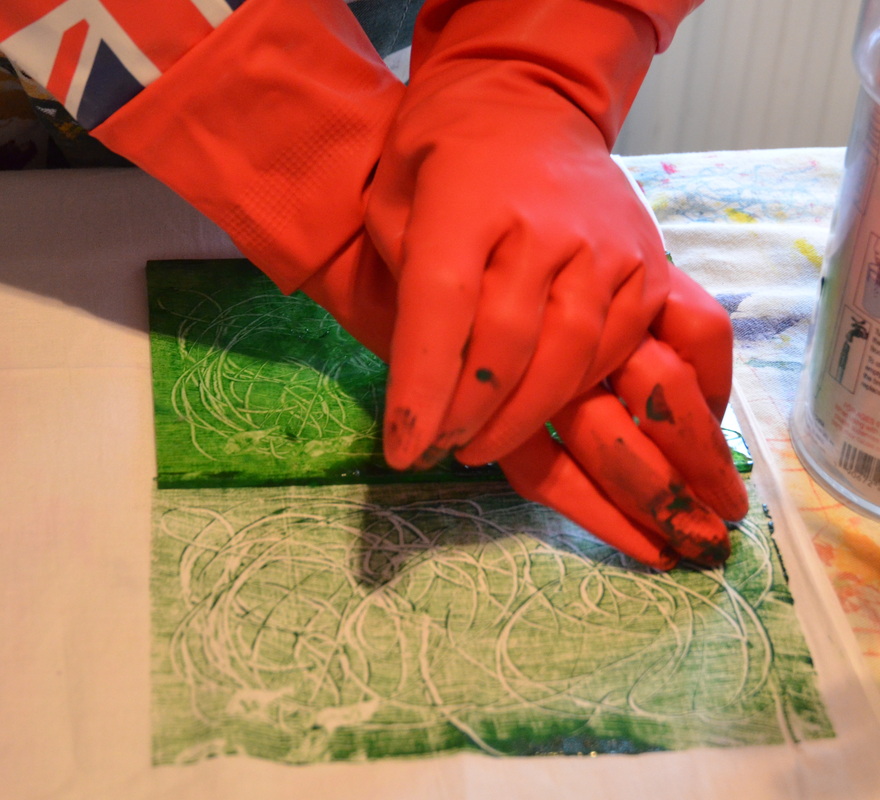
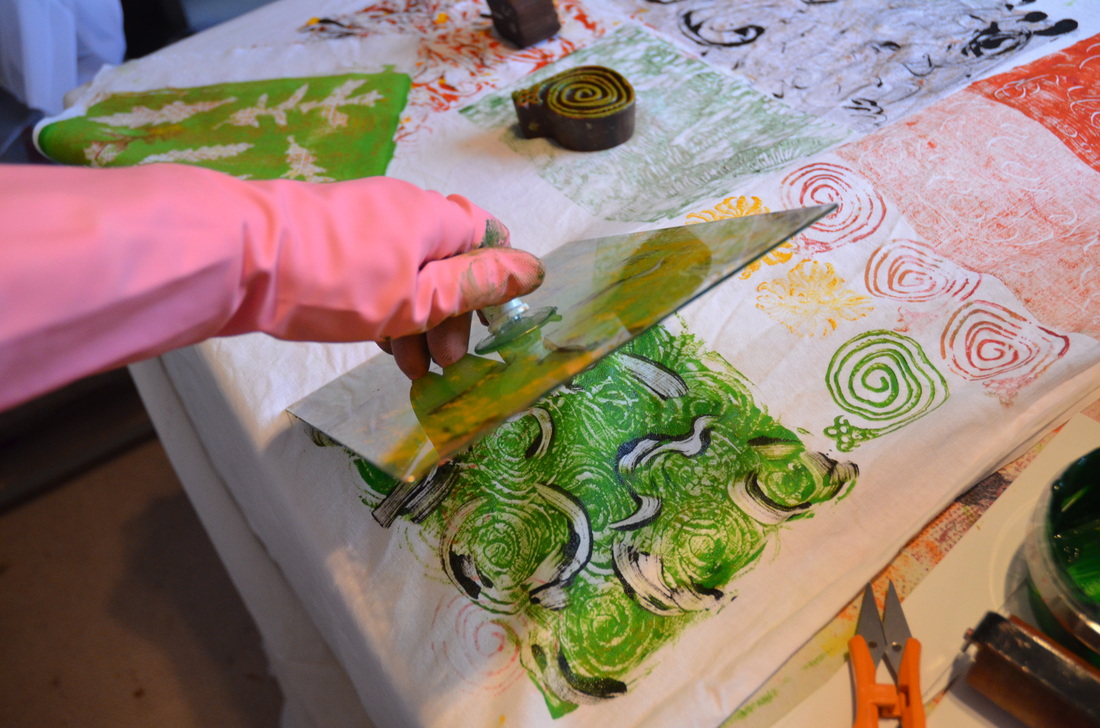
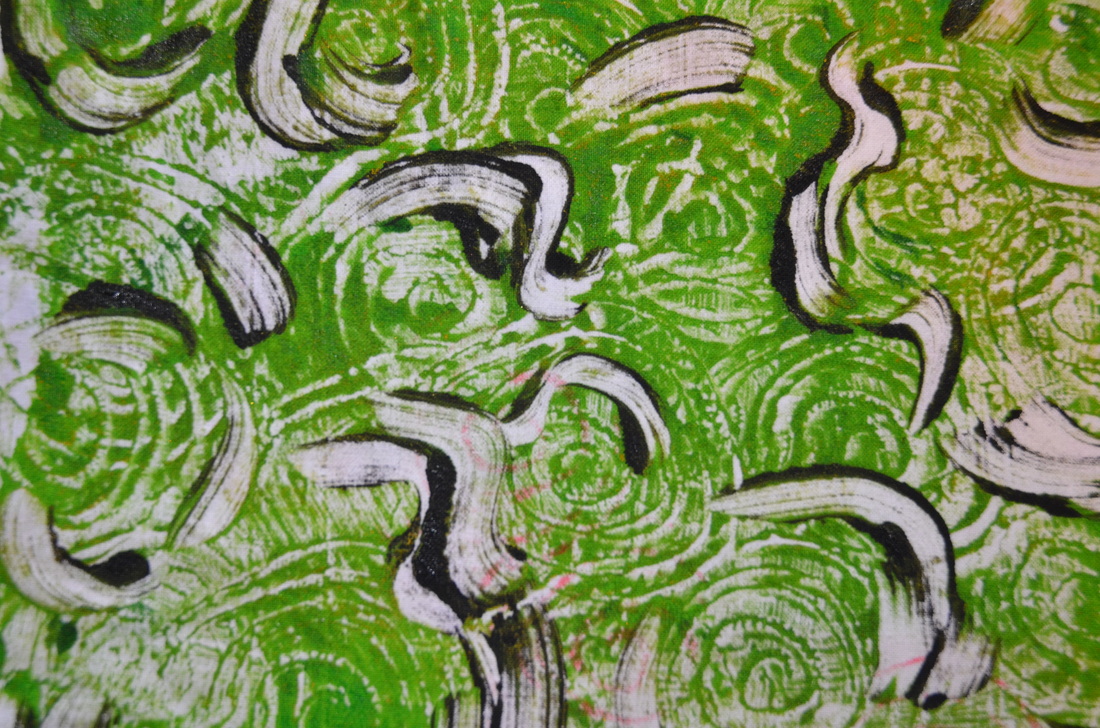
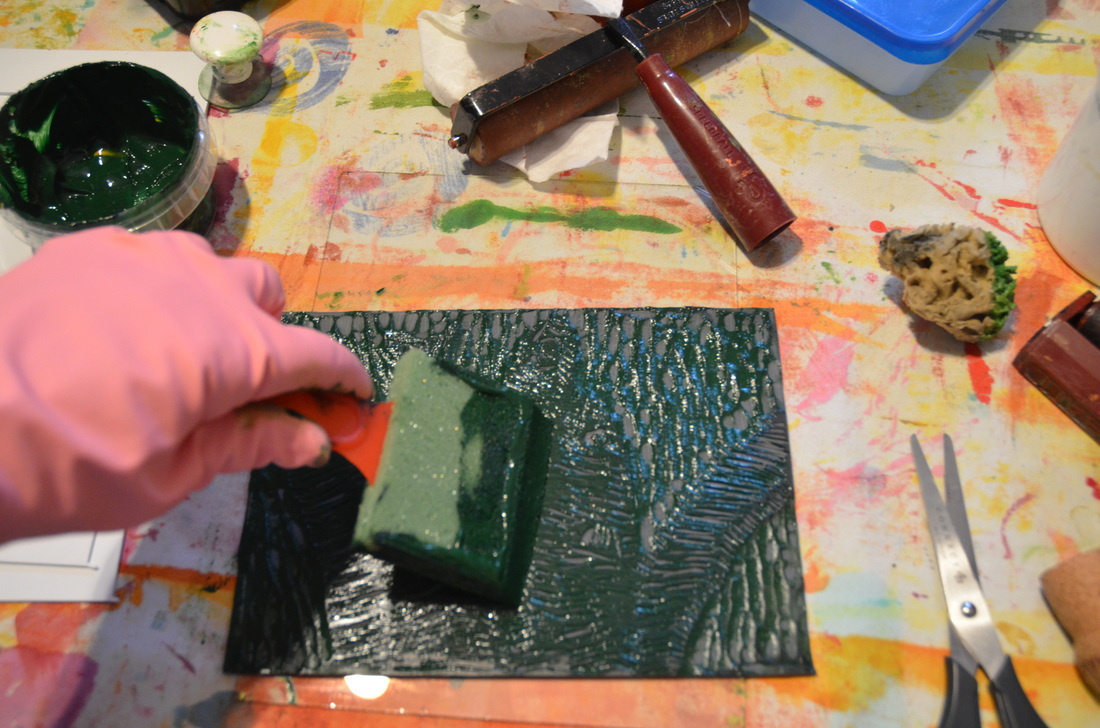
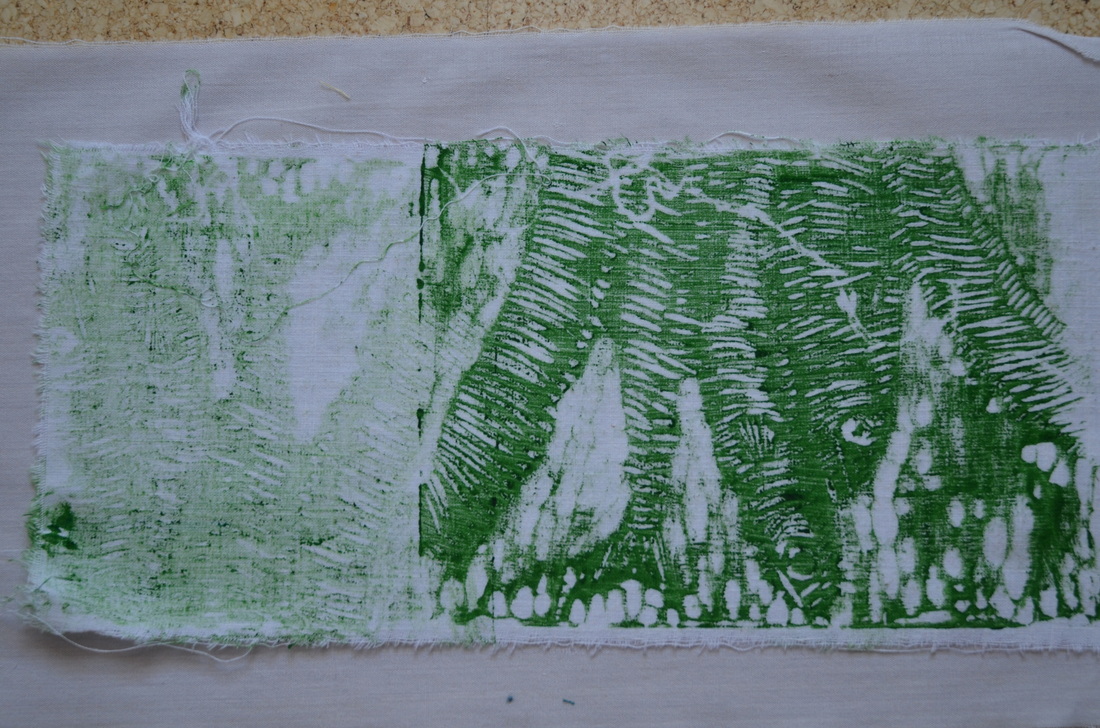
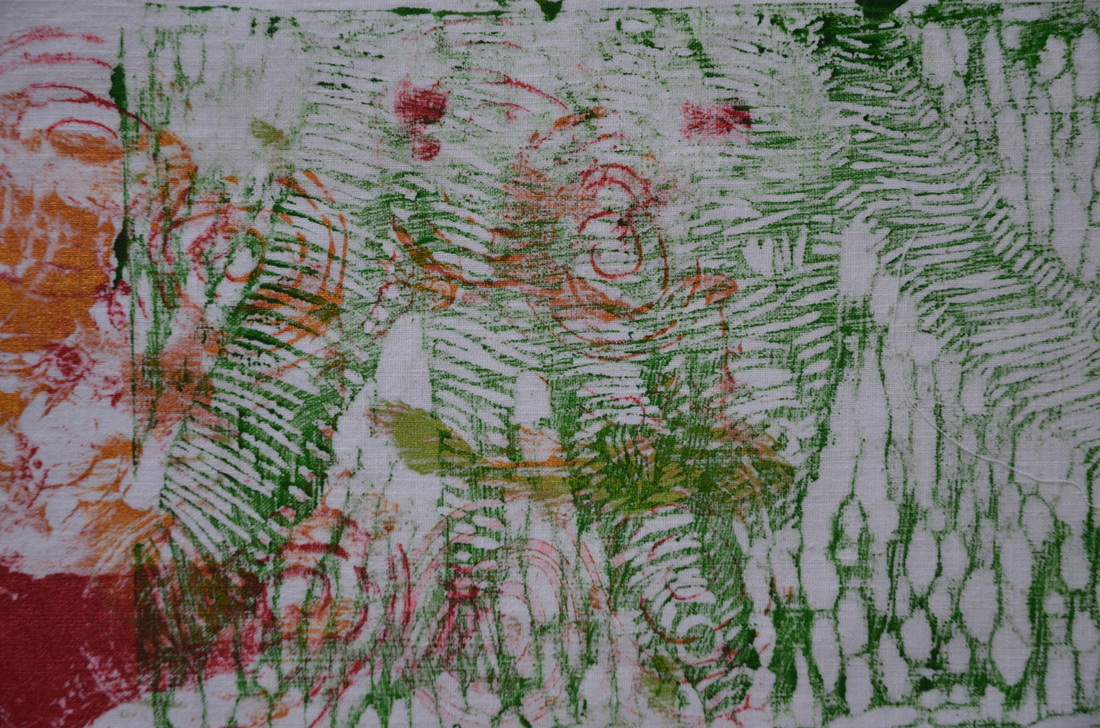
Stamping a monoprint is easy. I added textile paint to the glass printing plate shown here and brayered it smoothly. I then drew some lines in the paint with the end of a paintbrush - just some easy squiggles. I carefully lifted up the printing plate and placed it face down on the fabric. I attached a little handle that has a suction cup on it for ease in lifting it later, and pressed the plate onto the fabric. You can see the first monoprint here, especially my mistake! I left blobs of paint on the edge of the plate which has caused that dark splodge in the foreground. Well, that splodge can either be cut away, overprinted or painted with another colour to make it seem as if it was always meant to be there. You can't fail when doing surface design, keep that in mind! I picked up the printing plate by the handle and pressed it down again next to the first one, pressing very firmly to get all the textile paint onto the fabric. This second monoprint is called a ghost print because it is always much lighter than the first. This photo shows lifting up the stamp after making a different monoprint. As you can see in the background, this was a day of experimentation and we were rapidly running out of room! That little wooden stamp you can see in the background made those gorgeous little snails to the right of the monoprint. I got the stamp from Colouricious who have an amazing selection: www.colouricious.com/ Here's a shot of the finished piece. I had stamped it over some pink "ghost print" snails which you can just make out in the middle. The final stamps of the day were made using a linocut that my son had done in school. I coated the surface with textile paint, being careful not to get too much in the grooves. On the right you can see the first stamp which isn't great as there was too much paint on the surface of the lino. On the left is a partial ghost stamp which was done in reverse. This monoprint would have been great if I hadn't just stamped it anywhere on top of some other splodges and snails. Oh well. I'm sure I'll find some use for it! Nothing goes to waste here.
4 Comments
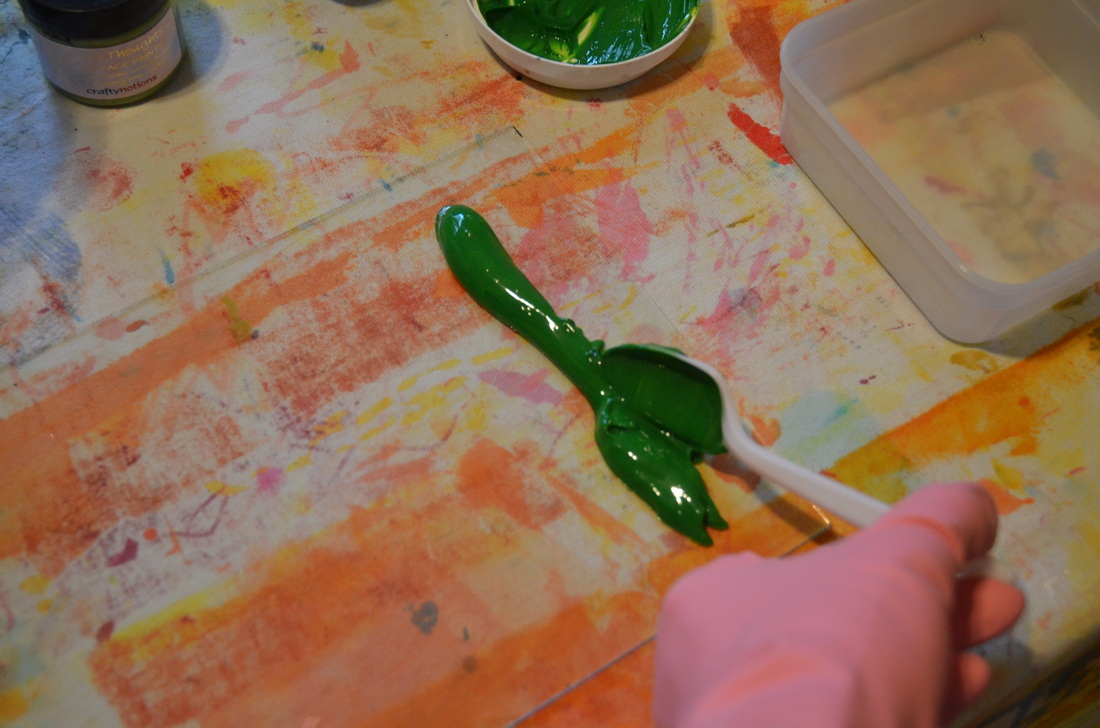
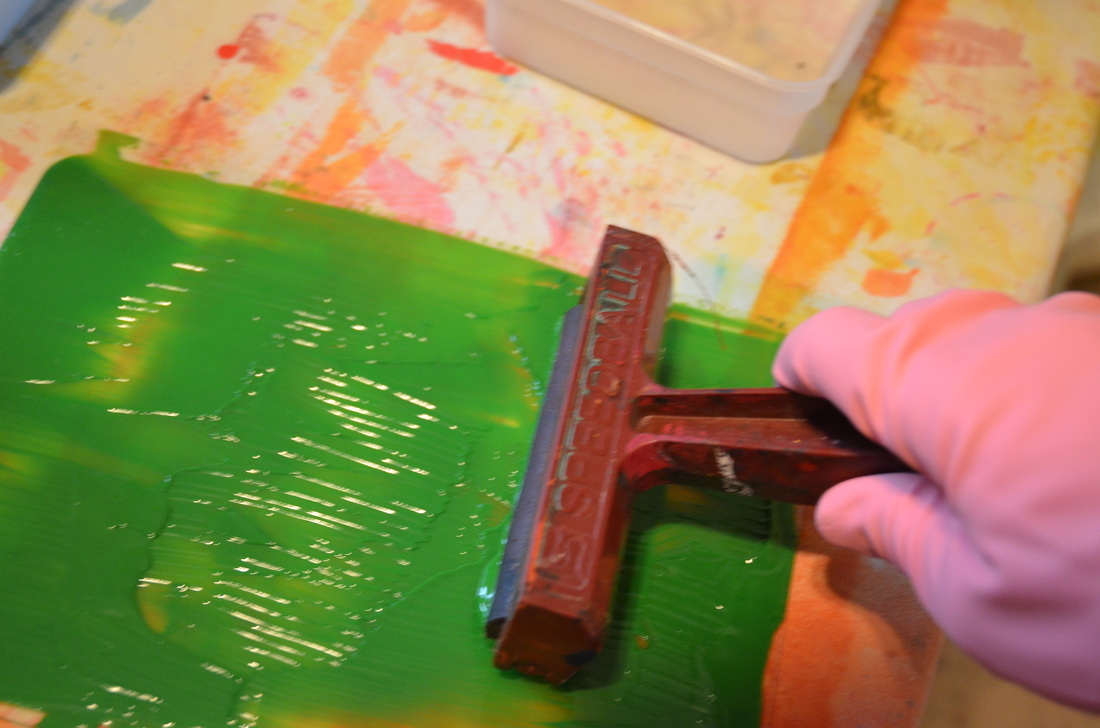
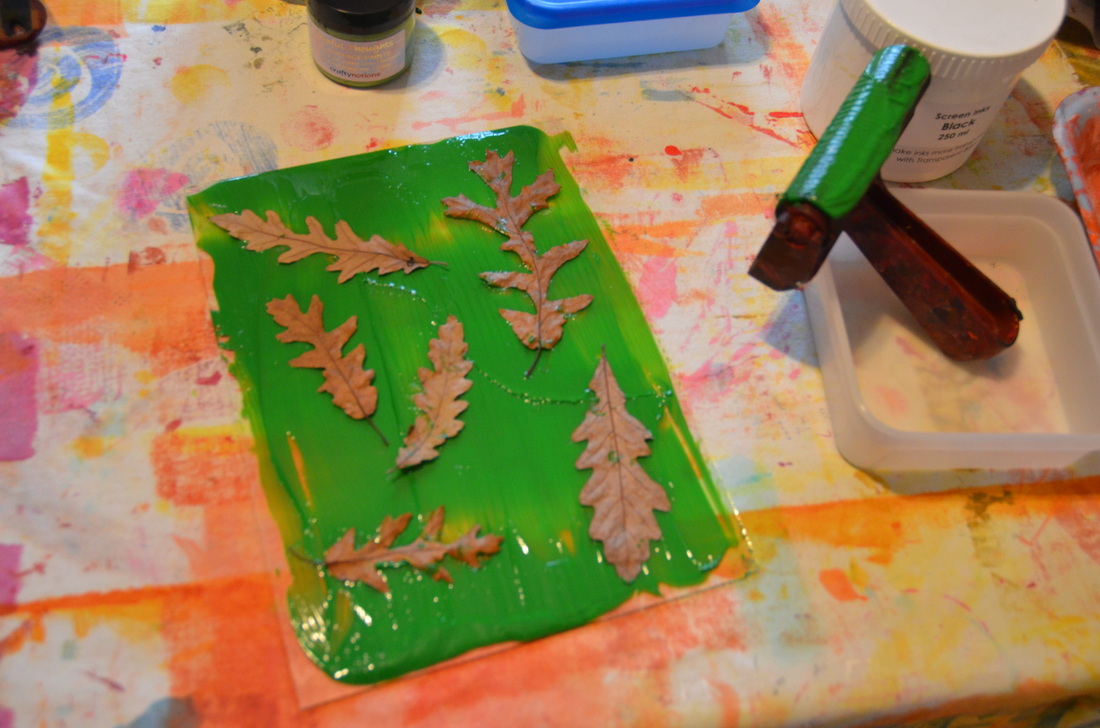
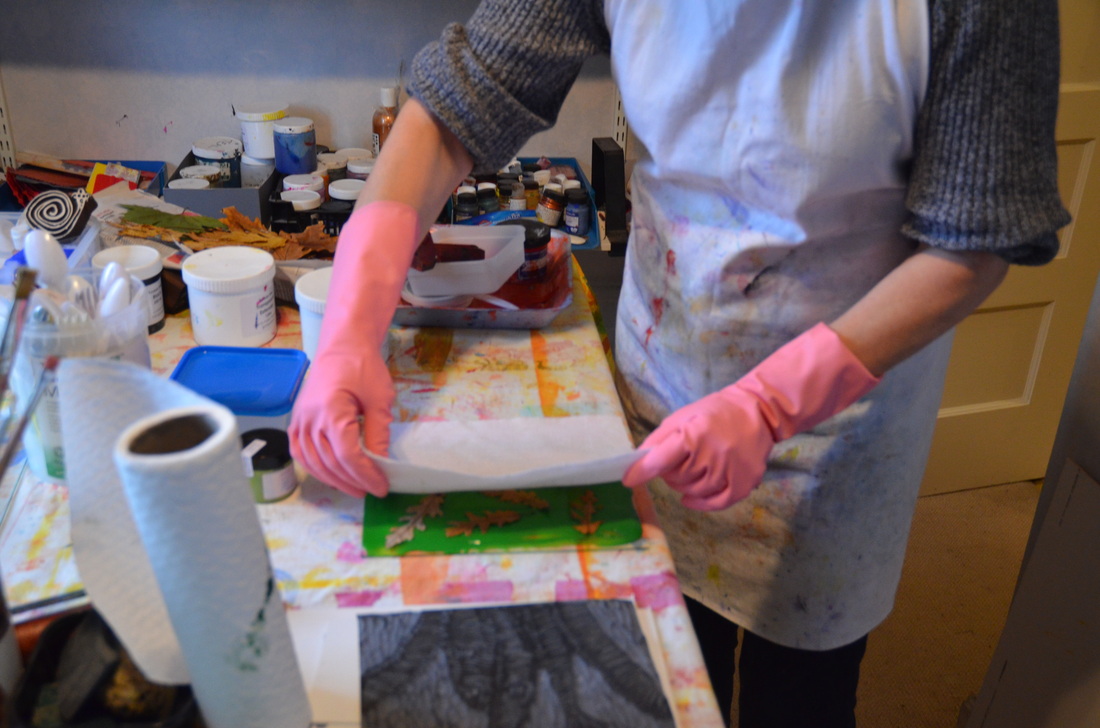
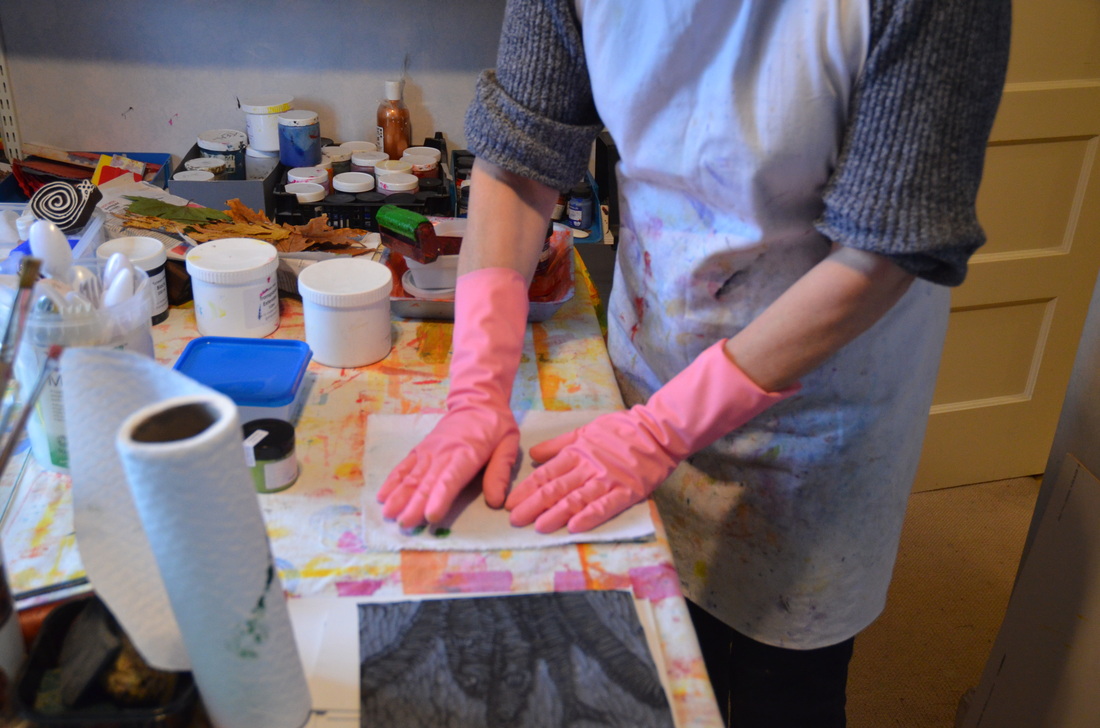
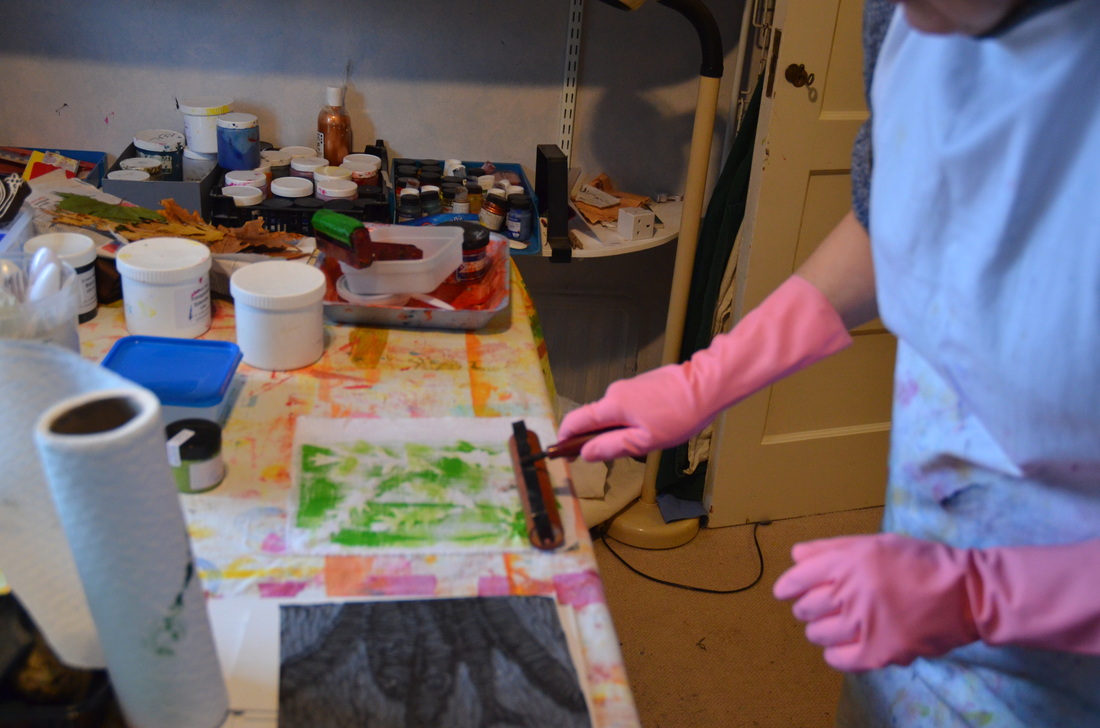
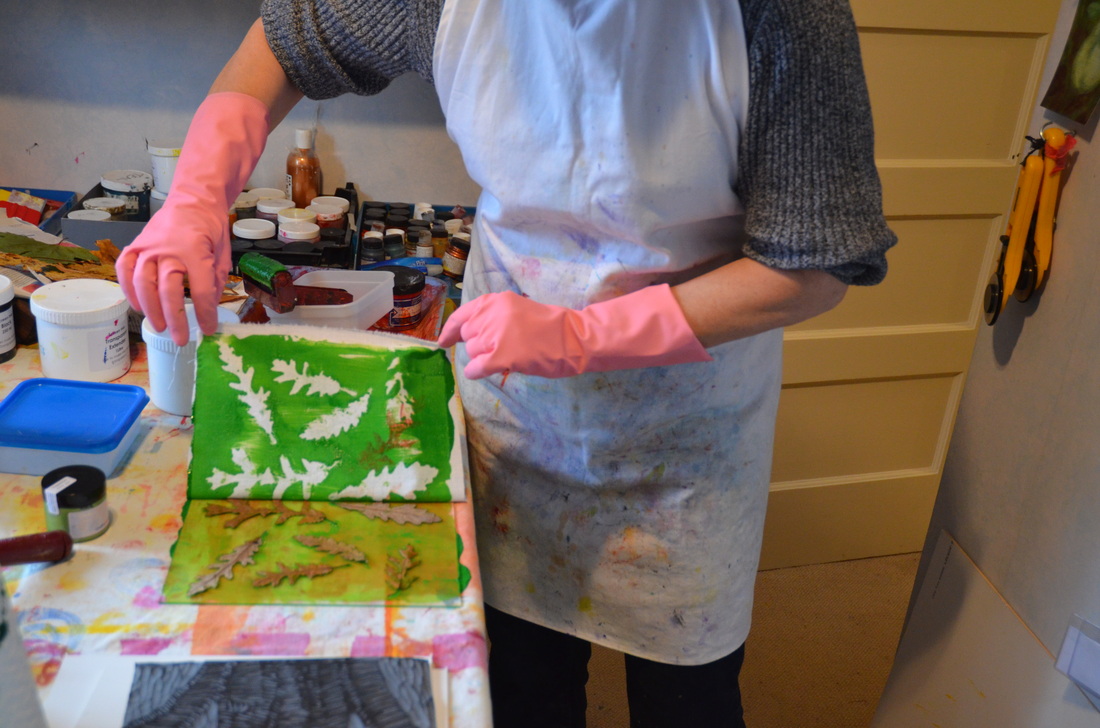
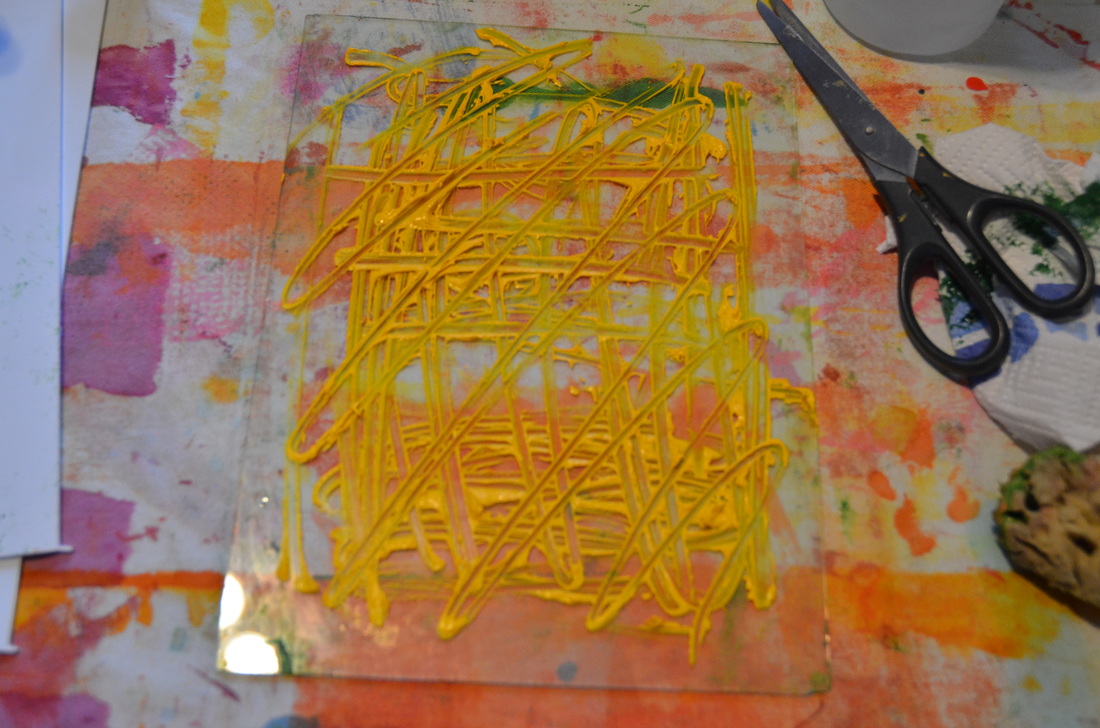
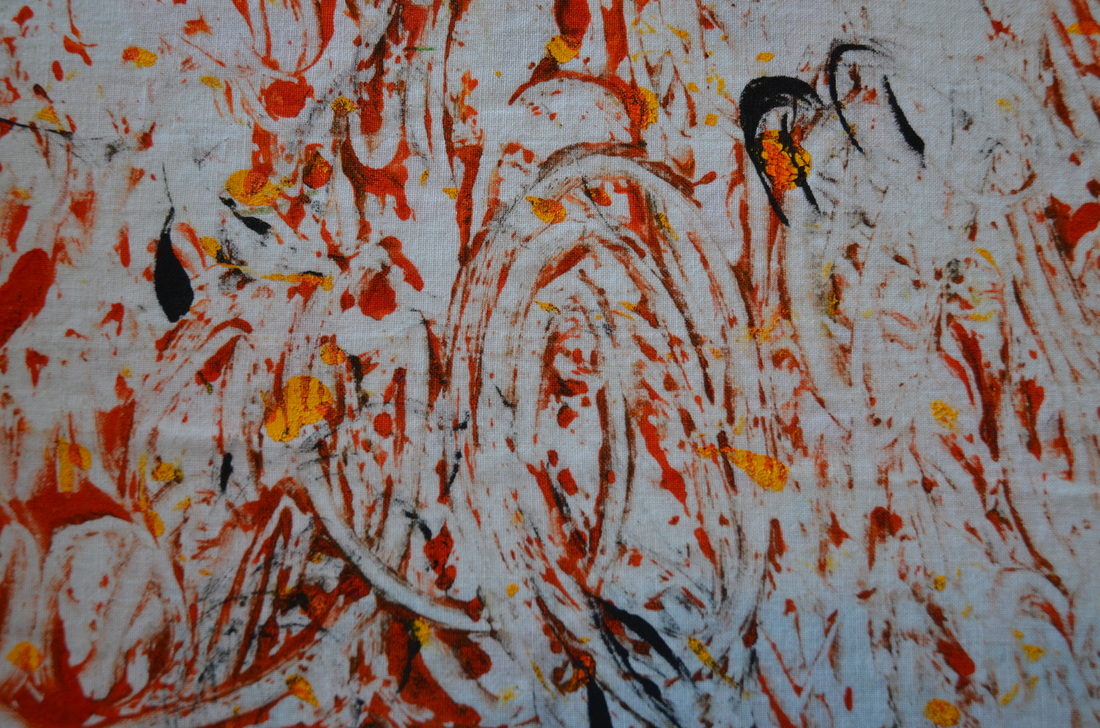
I had wonderful morning monoprinting with my friend Marlene in her studio. After a lovely cup of coffee and some chat we got to work. Marlene graciously took these photos for me so I could use them as art references for the book I'm writing. First I put some colour (fabric paint) on a glass printing plate. Note the lovely design on the fabric covering Marlene's work area from previous experiments! Then I brayered the paint until it smoothly covered the whole plate. I had collected some interesting leaves the day before and laid them on the paint in a nice arrangement. I carefully placed some 100% cotton prepared-for-dyeing fabric over the leaves and paint, and gently smoothed the fabric on top with my hands. Then I used a brayer to make sure all the colour transferred to the fabric. You can see it coming through to the wrong side in this picture....... Finally the moment of truth! I picked up the two corners of the fabric and slowly lifted it off the printing plate to reveal.......... An excellent result! I didn't throw the leaves away, but picked them up with tweezers and placed them, painted side down, on another fabric. I brayered over them to transfer that paint to the fabric beneath. So I now have positive and negative images of those leaves! Next, I washed off the plate and brayered some new colour onto it. I used a chopstick to incise a design in the paint. I added some red and black fabric paint as well and used my finger to move the colours around. Then I monoprinted a piece of fabric and this is the result: Next time I'll show you how I stamped a monoprint.
|
Archives
March 2023
Categories
All
|
 RSS Feed