|
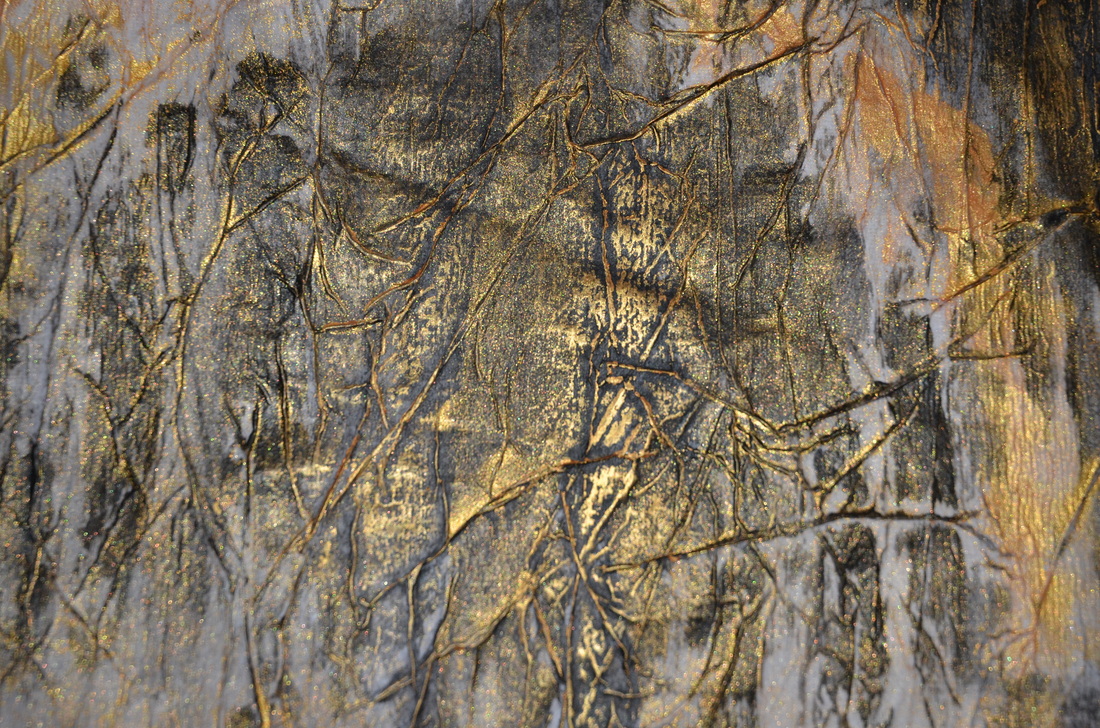
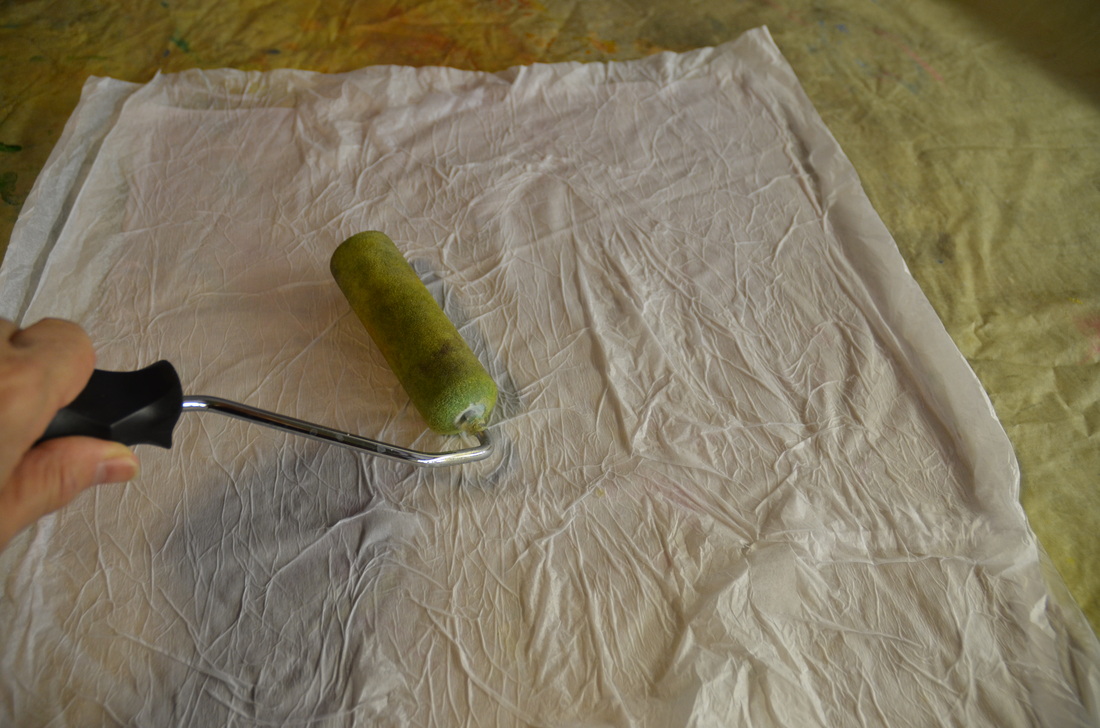
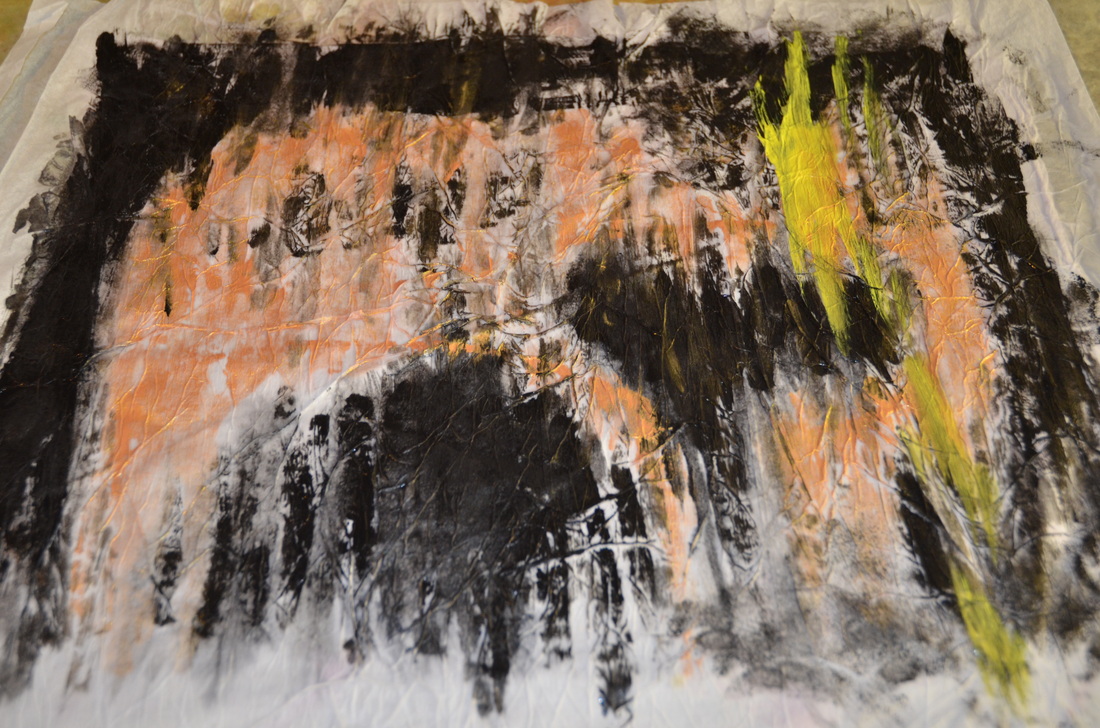
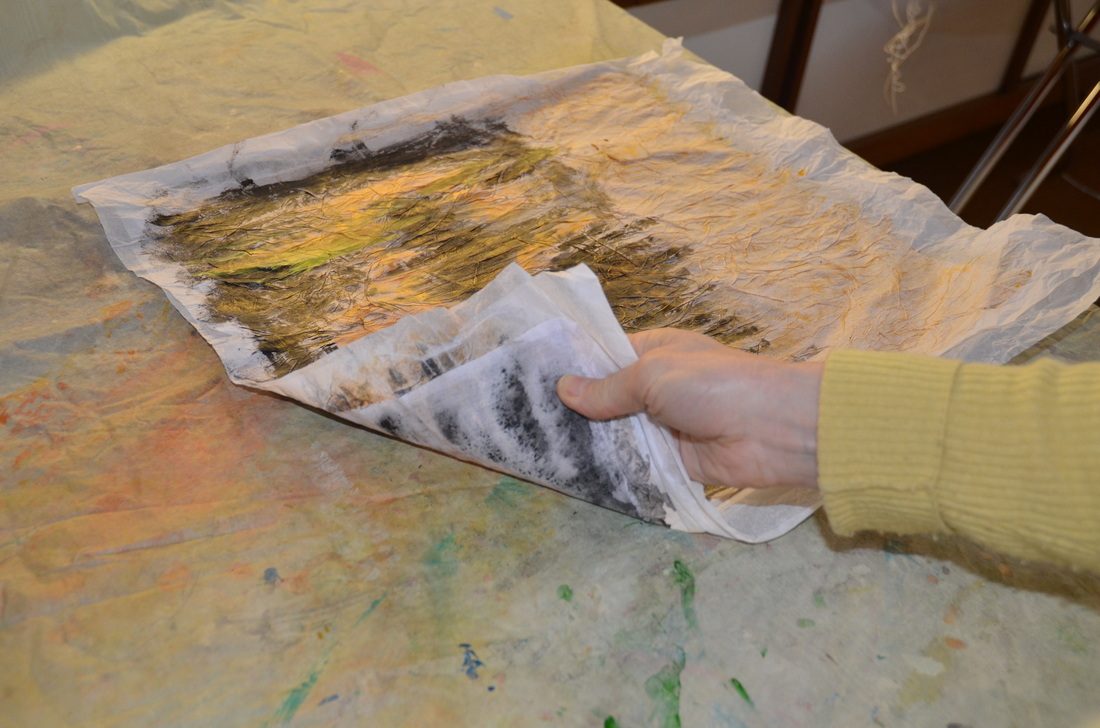
I can't believe it's already June 2014! I had very good intentions of writing regular postings on this website, but life, as usual, got in the way. We went on a wonderful trip to Myanmar (Burma) over the holidays, and when we got back, I spent January clearing up my computer, cleaning my study, filing papers and starting work on the lectures that will accompany the new book. I went to Colorado in March to visit my son and an old quilting friend -- I will write about that next time, and I promise to write more regularly from now on! Anyway, as part of chapter 2 in the book, I gave instructions for creating paper "fabric" -- seen in the photo above. To do this, place a plastic tablecloth on a large flat work surface. Thin fabric glue to a creamy consistency and roll it on the tablecloth, then smooth some plain cotton fabric on top of the glue. Roll a thin layer of glue on top of the fabric. Crumple craft tissue paper, then open it up and smooth it onto the glued fabric with a foam roller as shown above. Add a few more layers, rolling the surface with a thin layer of glue after each addition, and overlapping the layers to get the desired size. If you wish, add some decorative scraps of colored paper, fabric, glitter or dried flowers to the glued surface or in between the layers of tissue paper. The surface will have a wonderful texture. When the glue is nearly dry, you can apply paint or dye to the surface, manipulating the colors to emphasize the textured areas as seen above. When the paint or dye is dry, rub the raised areas with metallic wax or paintstiks to highlight the texture. Leave the work to dry undisturbed for a day, then gently peel it off the plastic tablecloth. You can cut, sew, embroider, quilt and embellish your paper fabric.
2 Comments
|
Archives
March 2023
Categories
All
|


 RSS Feed