|
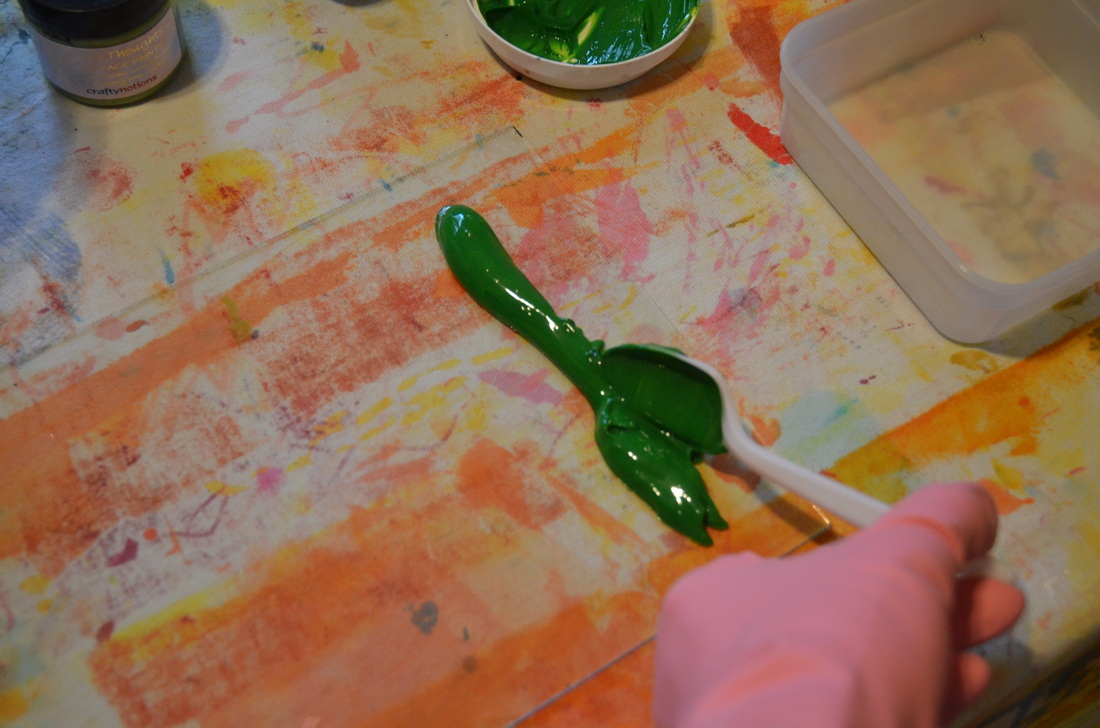
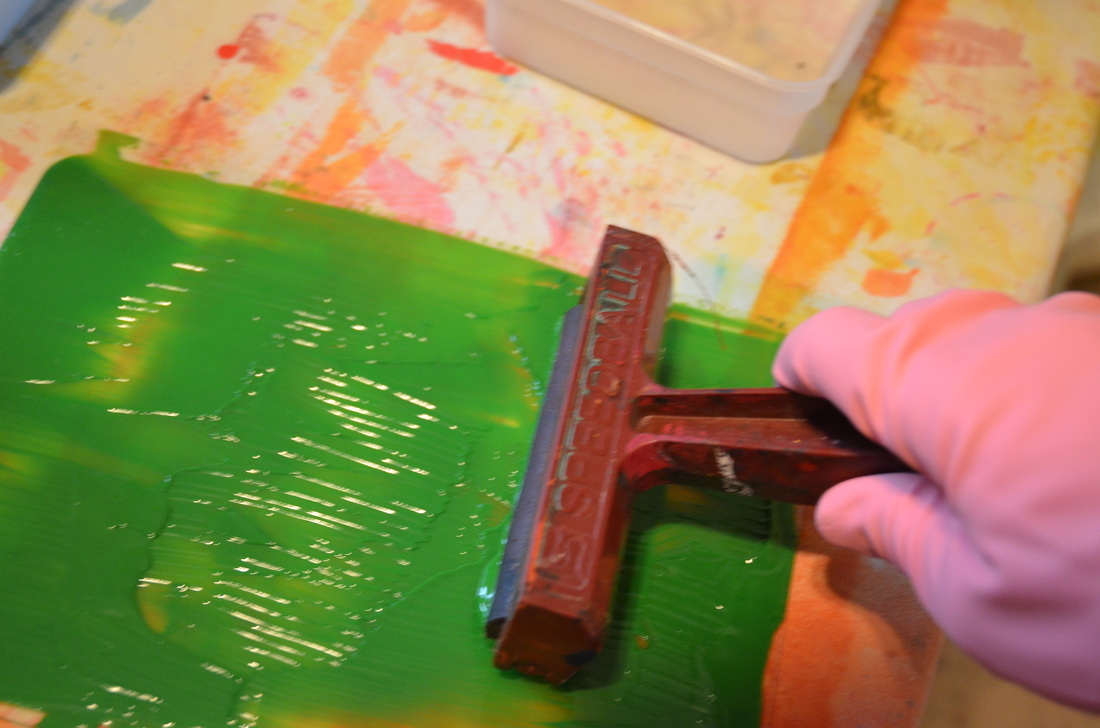
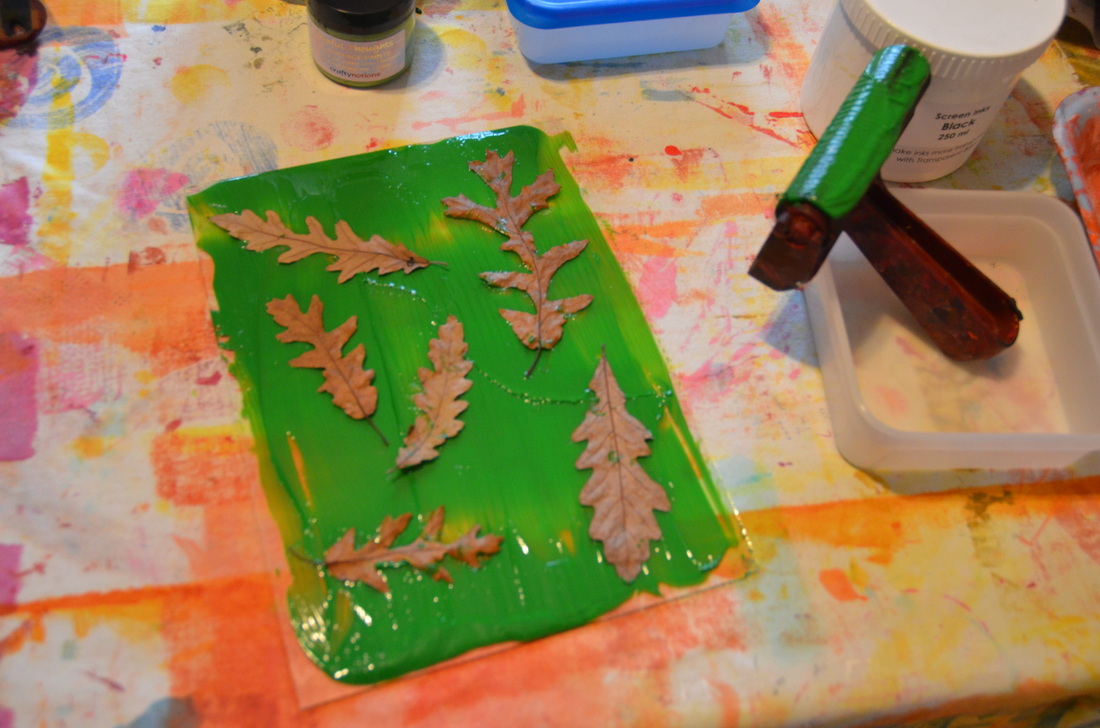
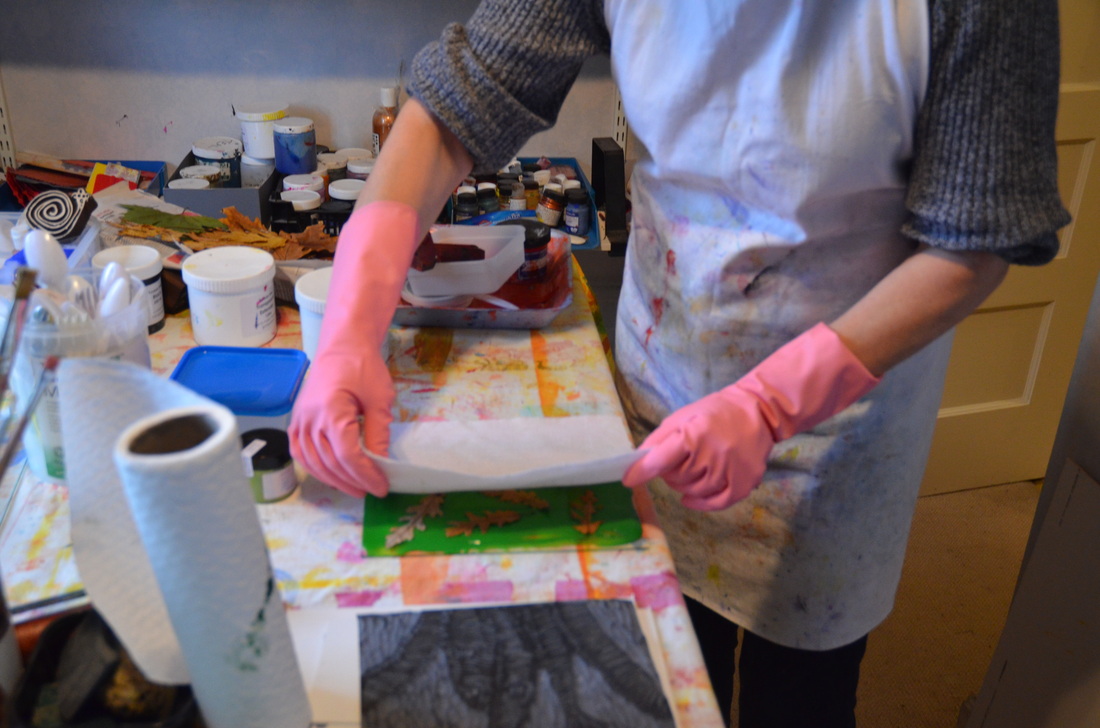
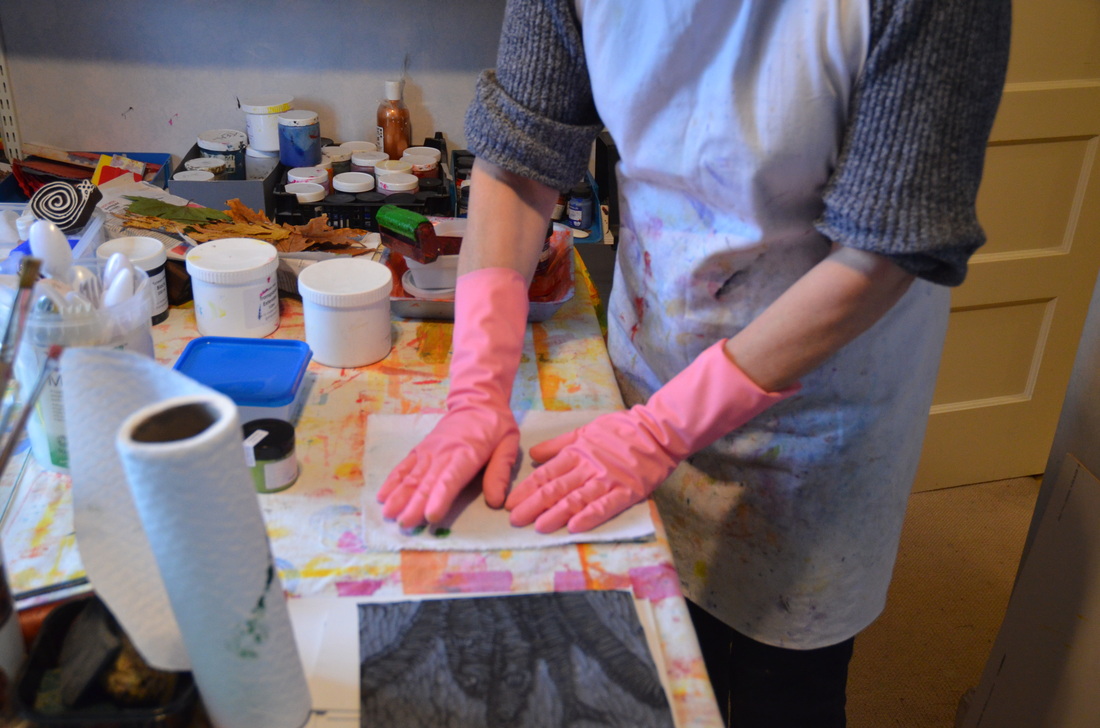
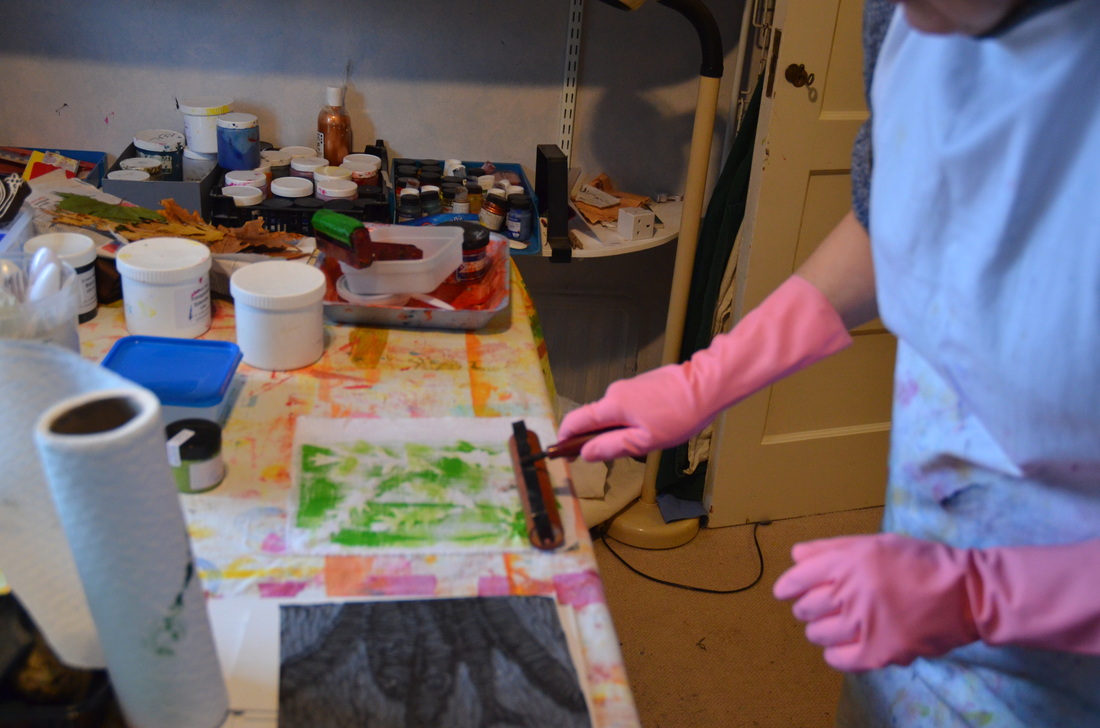
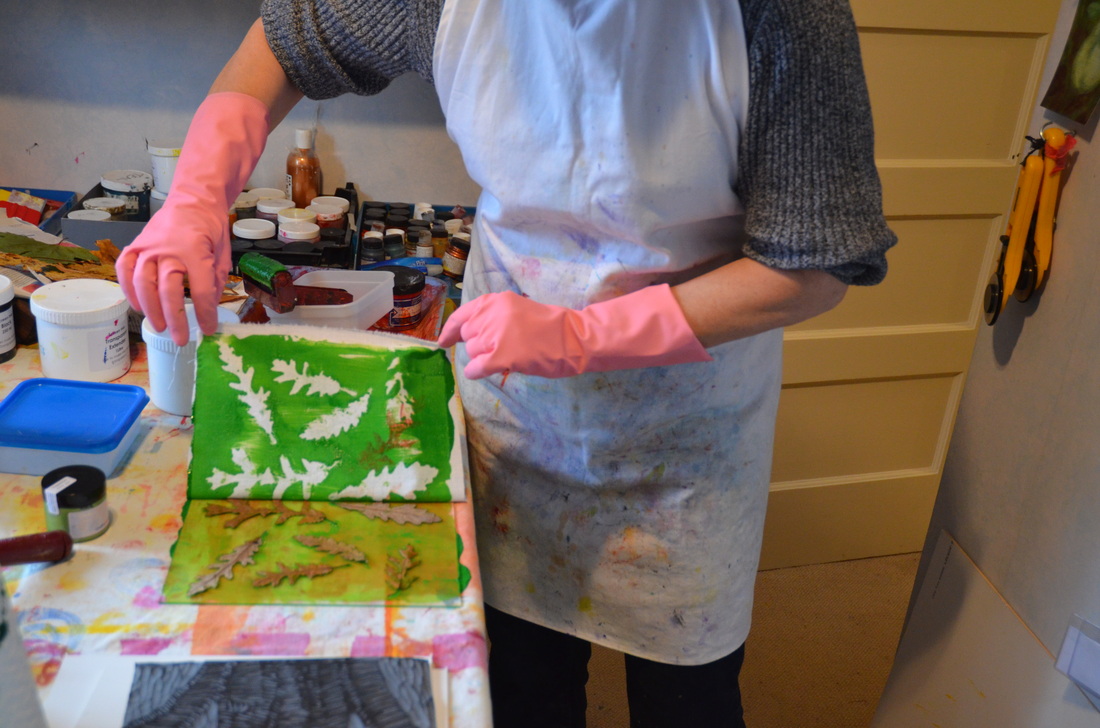
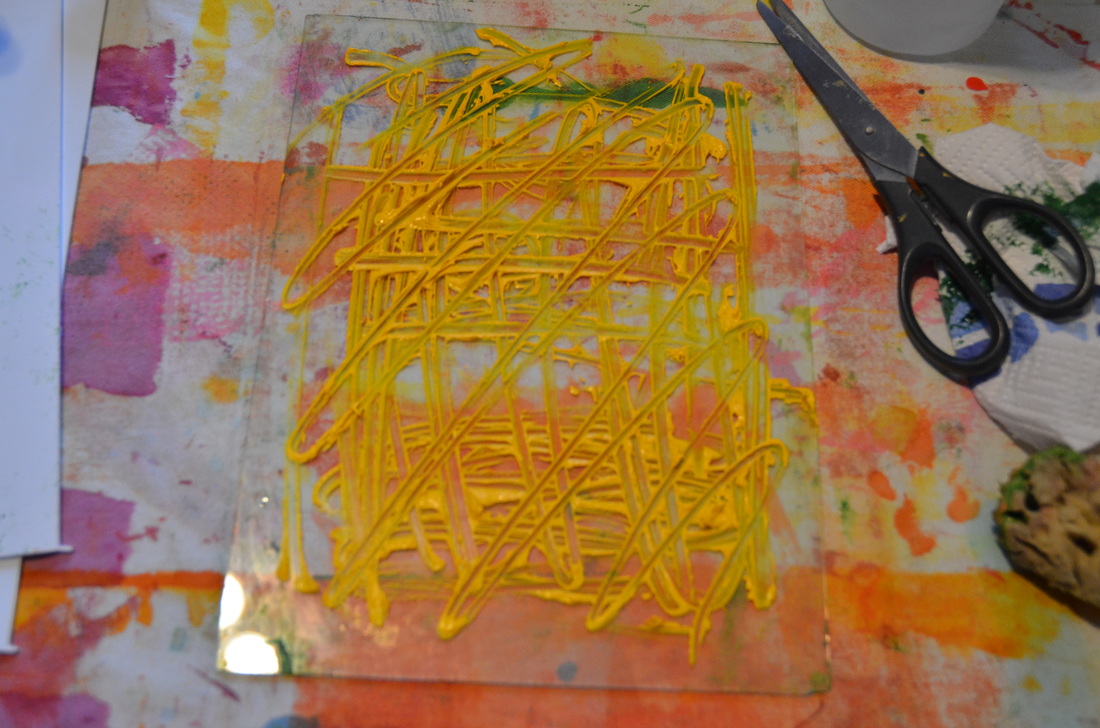
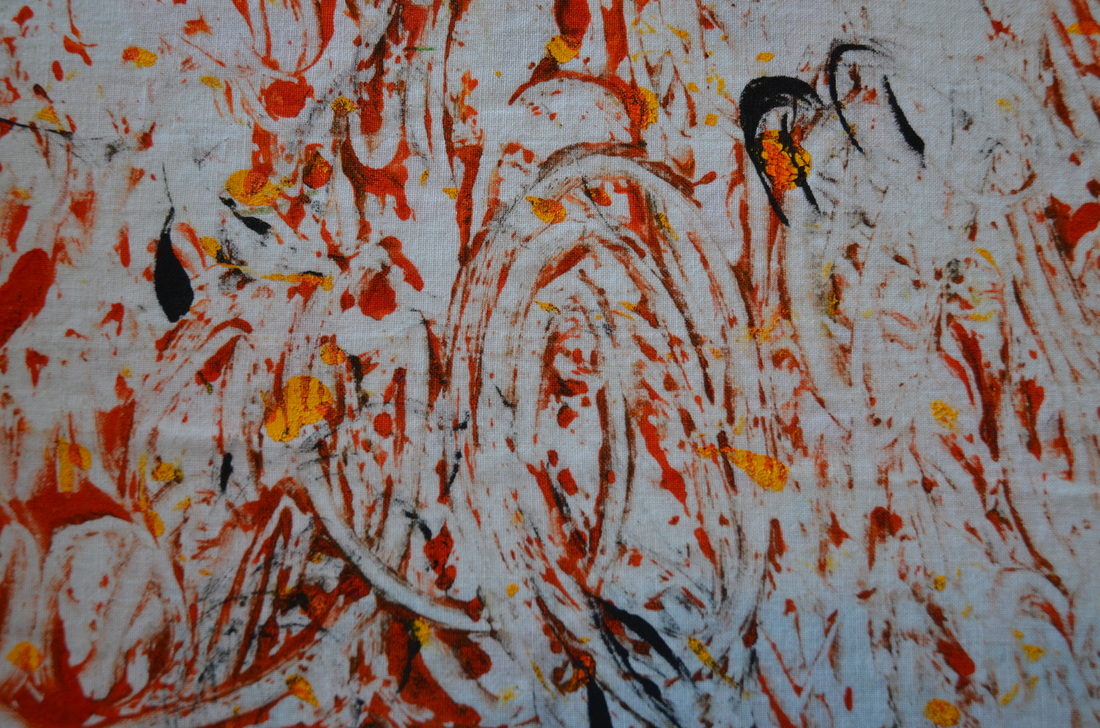
I had wonderful morning monoprinting with my friend Marlene in her studio. After a lovely cup of coffee and some chat we got to work. Marlene graciously took these photos for me so I could use them as art references for the book I'm writing. First I put some colour (fabric paint) on a glass printing plate. Note the lovely design on the fabric covering Marlene's work area from previous experiments! Then I brayered the paint until it smoothly covered the whole plate. I had collected some interesting leaves the day before and laid them on the paint in a nice arrangement. I carefully placed some 100% cotton prepared-for-dyeing fabric over the leaves and paint, and gently smoothed the fabric on top with my hands. Then I used a brayer to make sure all the colour transferred to the fabric. You can see it coming through to the wrong side in this picture....... Finally the moment of truth! I picked up the two corners of the fabric and slowly lifted it off the printing plate to reveal.......... An excellent result! I didn't throw the leaves away, but picked them up with tweezers and placed them, painted side down, on another fabric. I brayered over them to transfer that paint to the fabric beneath. So I now have positive and negative images of those leaves! Next, I washed off the plate and brayered some new colour onto it. I used a chopstick to incise a design in the paint. I added some red and black fabric paint as well and used my finger to move the colours around. Then I monoprinted a piece of fabric and this is the result: Next time I'll show you how I stamped a monoprint.
7 Comments
|
Archives
March 2023
Categories
All
|
 RSS Feed