Following on from my last texture experiment, this time I am puff texturing, using hand-dyed fabric and a metal grill from my oven. To start, I wet the fabric thoroughly, then wrung it out so it was still damp. I placed the fabric on the grill, and using the eraser end of a pencil, began to poke the fabric in between the wires. 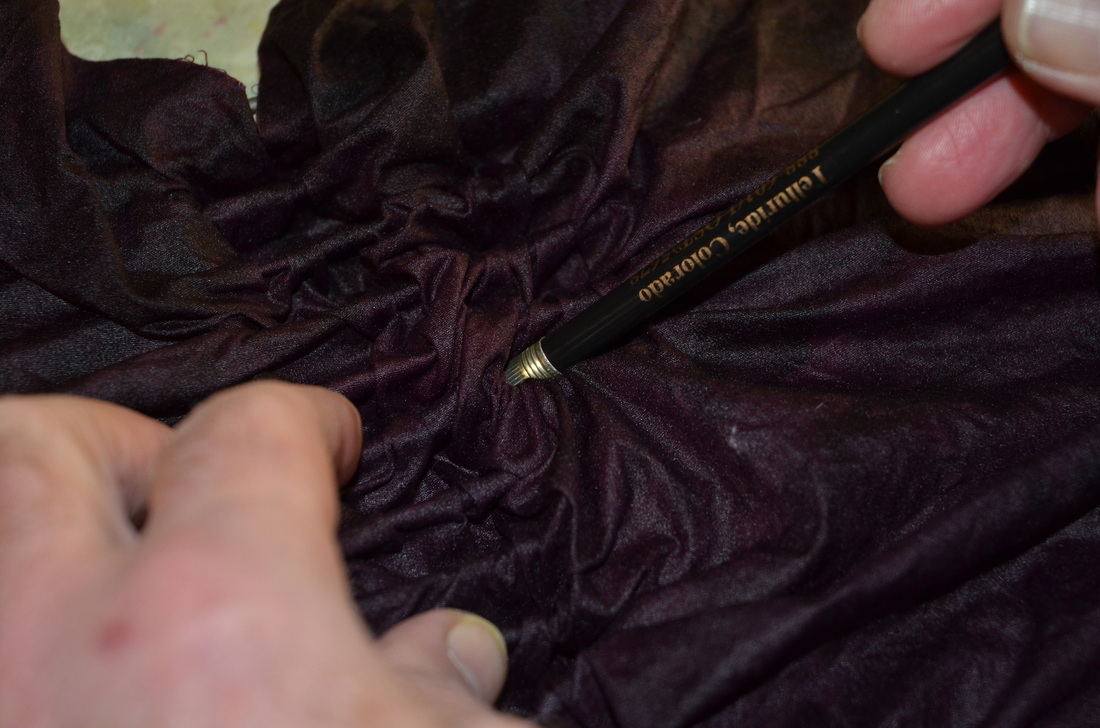
It's important to hold the fabric in place as you do this so you don't pull up the bits that you pushed down previously - you have to practice with this as it can be frustrating! This is what it looks like when all the bits have been pushed through the wires. 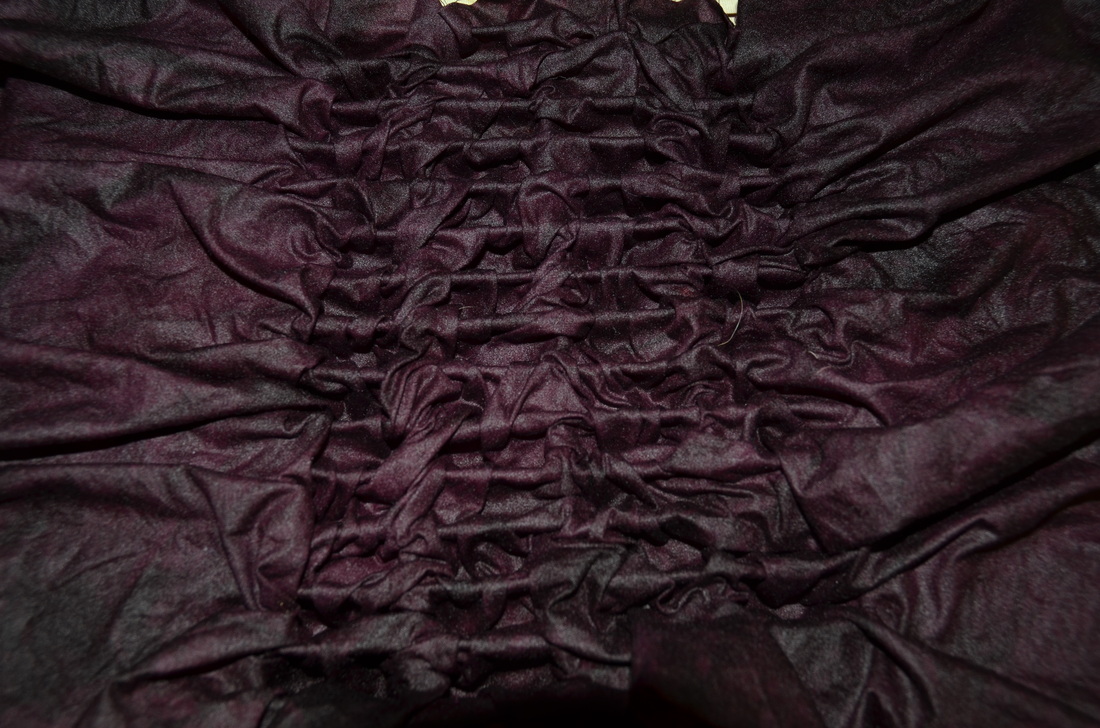
Next, cut a piece of lightweight fusible interfacing and press it on the fabric which is still tucked into the metal grill. (By the way, I'm wearing a bandage on my left hand as I had recently had a carpal tunnel operation - you don't have to wear gloves for this process!) 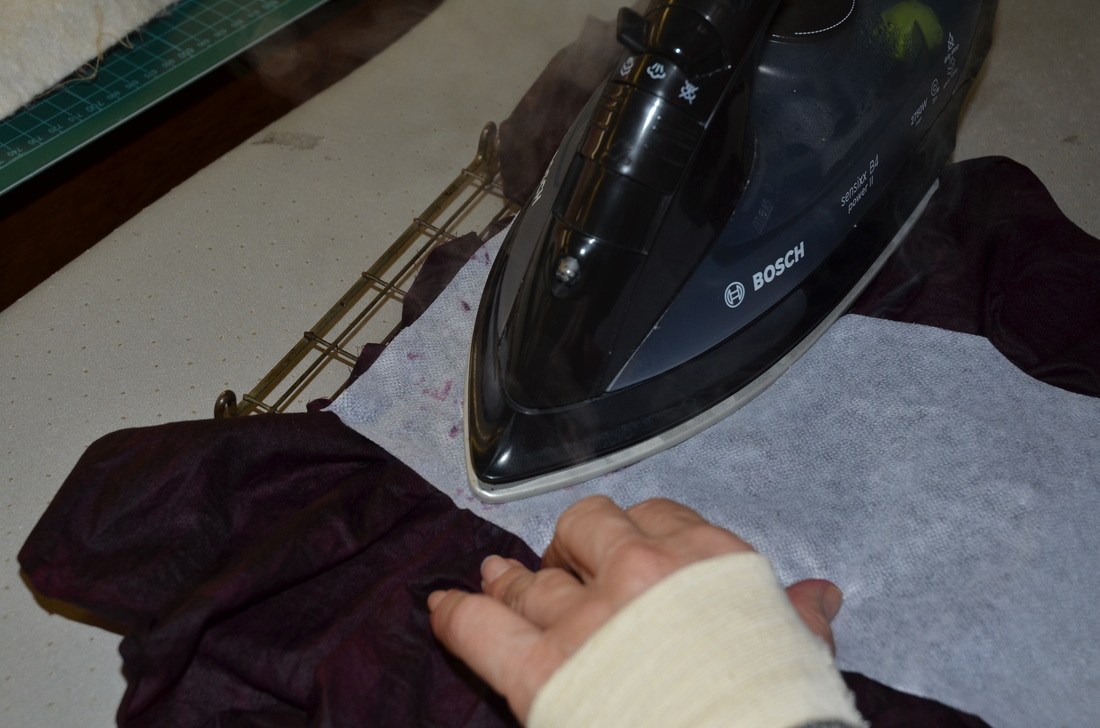
If you wish, you can decorate the puffed areas before removing the fabric from the grill. Turn the grill over. Pour some fabric paint into a tray and roll a foam roller in it until the roller is coated. Then gently glide the roller over the puffed areas. I used a metallic copper paint here. You can see how it's just picked up some of the puffed areas. 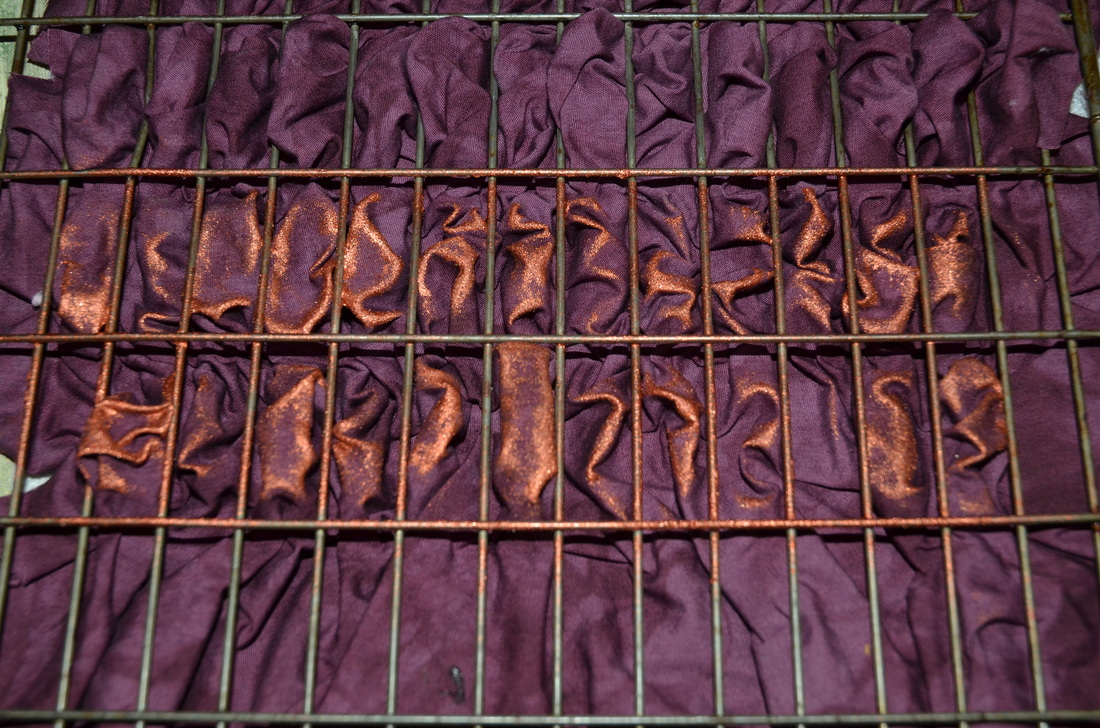
I then poured some deColourant into a tray and rolled another foam roller in that until it was coated. This photo shows rolling the deColourant on the fabric. deColourant is a discharge paste that will remove the dye from the fabric using heat and steam. 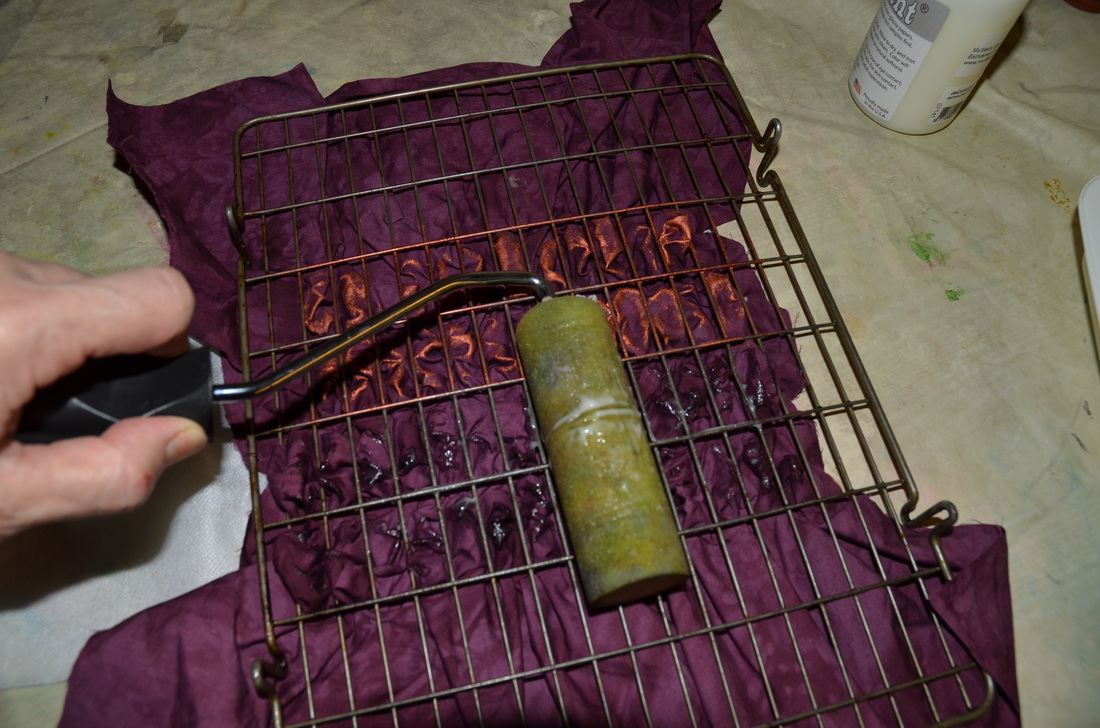
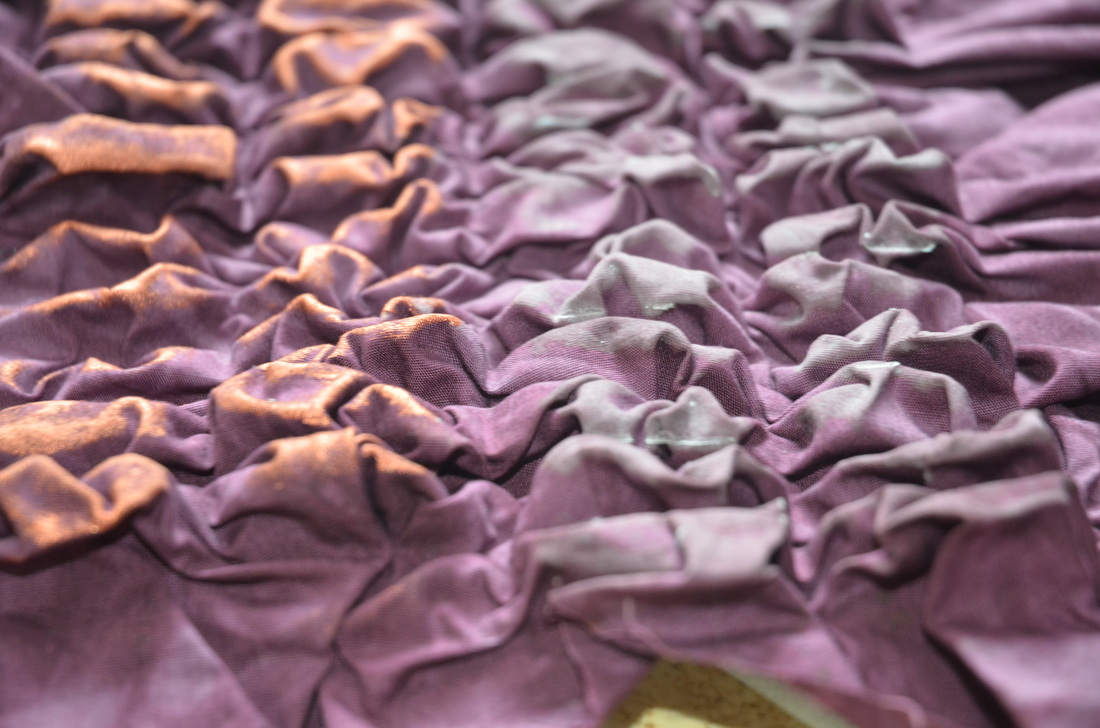
Below is a close-up showing how the deColourant looks before heating. I allowed the fabric paint and the deColourant to dry overnight, then gently pulled the puffed fabric off the grill - the puffs are held in place by the fusible interfacing. I hovered a hot steam iron over the area coated with the discharge paste, moving it around until the fabric had discharged and turned whitish, but not pressing down on the puffs. If you look at the top photo of this post, you can see the white discharged areas on the right side. 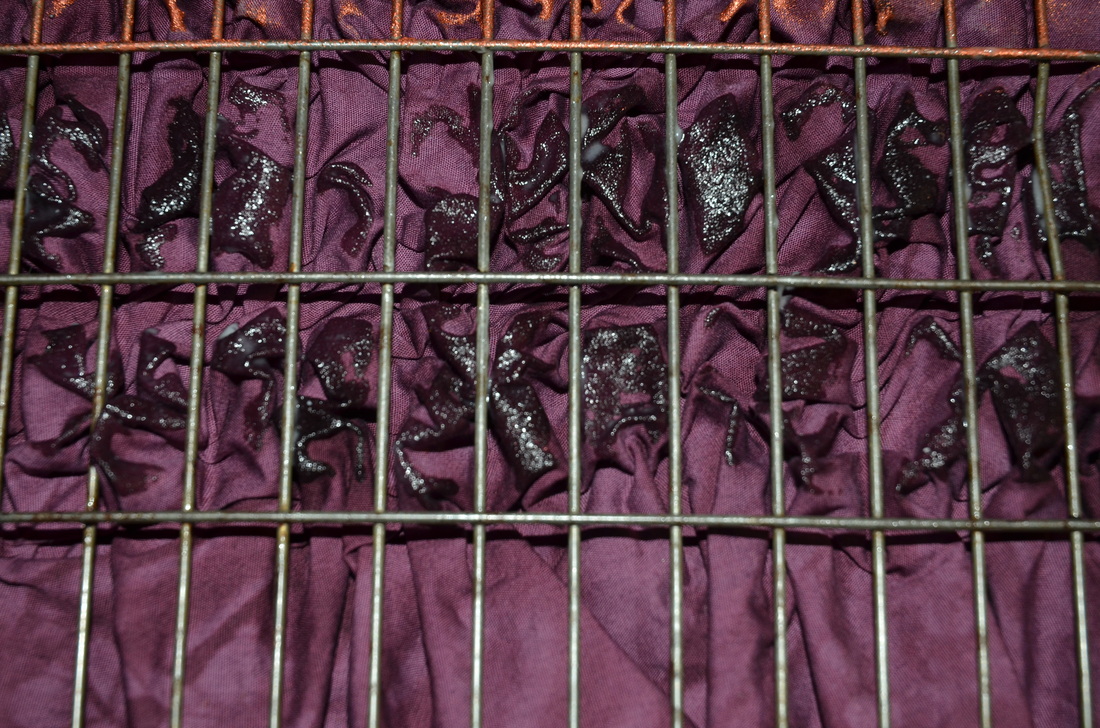
I could have left the fabric that way and used it for patchwork or applique, but I decided to pull off the fusible web and press the fabric flat to see what it looked like. Here's the result showing the discharged areas. 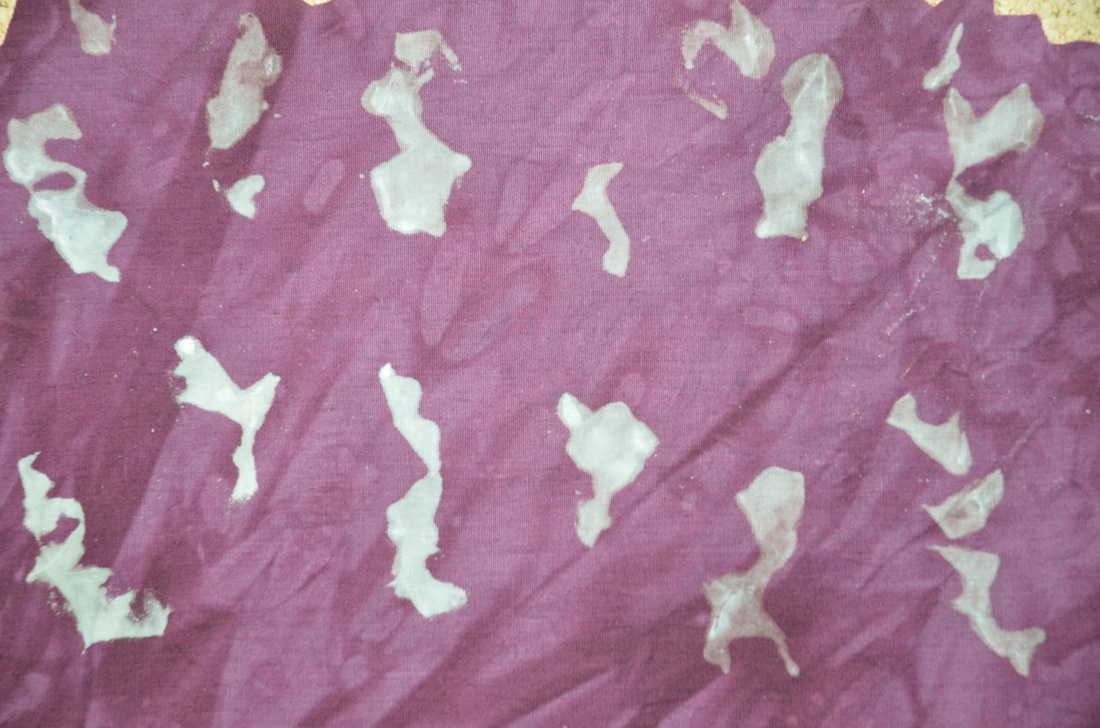
I quite like the squiggles and will have fun using this in a future project. You could also press the fabric flat without removing the interfacing for a flattened textured effect.
By the way, if you decide to work with the puff textured fabric in 3D (without flattening it as I did), use a sewing machine to stay-stitch just inside the area you are planning to cut so that you don't lose the puffiness; be sure to leave a 1/4"/6mm seam allowance for patchwork or if you are planning to turn the edges under for an applique.
4 Comments
5/5/2013 09:45:53 am
This is fabulous! I know I'm very traditional, but really appreciate how this innovative technique could be applied to art quilts and textiles in general! Bravo!! Sorry to hear about your hand surgery and hope it wasn't too painful. 5/5/2013 09:50:50 am
Glad you liked it, although I realise it's not for everyone. But it's an interesting way to create a design on fabric, even if you don't take advantage of the textured aspect. My hand is healing well - a consequence of too much quilting!
Emily
5/5/2013 06:19:02 pm
This looks like so much fun! I hope you didn't ruin the grill.
Dorothy
5/8/2013 02:18:08 am
The effect is so rich looking! The process seems very painstaking, but worth the effort. You must have so many lovely pieces of fabric from all of these fascinating experiments. Your comment will be posted after it is approved.
Leave a Reply. |
Archives
March 2023
Categories
All
|
 RSS Feed