|
I had wonderful morning monoprinting with my friend Marlene in her studio. After a lovely cup of coffee and some chat we got to work. Marlene graciously took these photos for me so I could use them as art references for the book I'm writing. First I put some colour (fabric paint) on a glass printing plate. Note the lovely design on the fabric covering Marlene's work area from previous experiments! 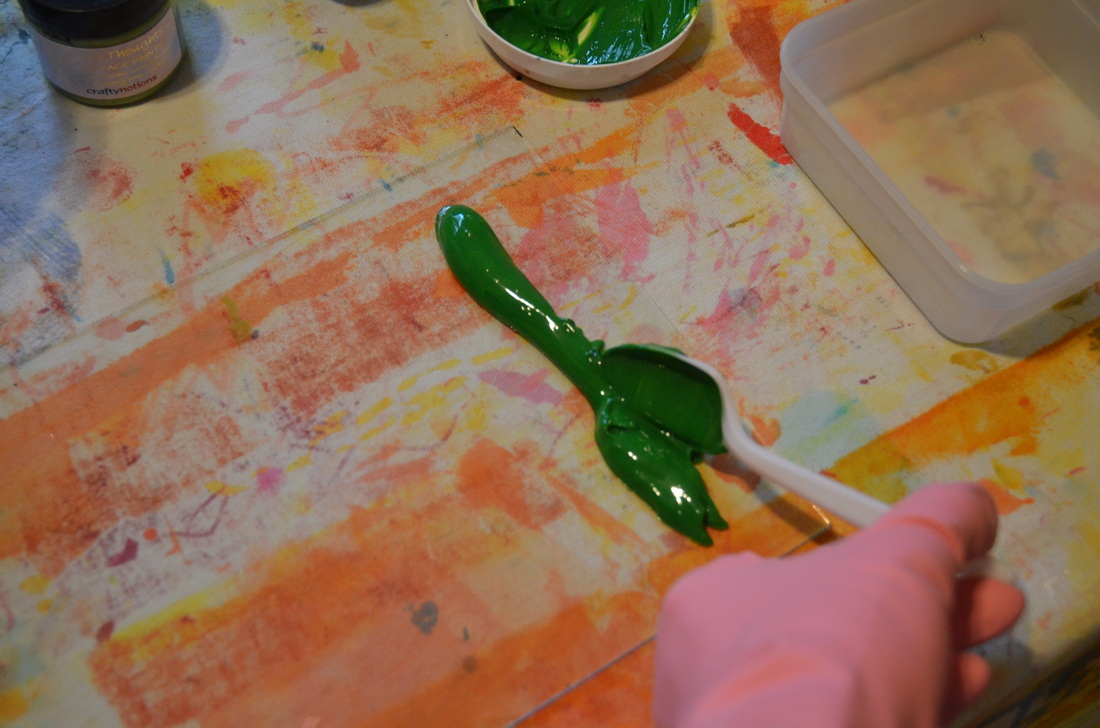
Then I brayered the paint until it smoothly covered the whole plate. 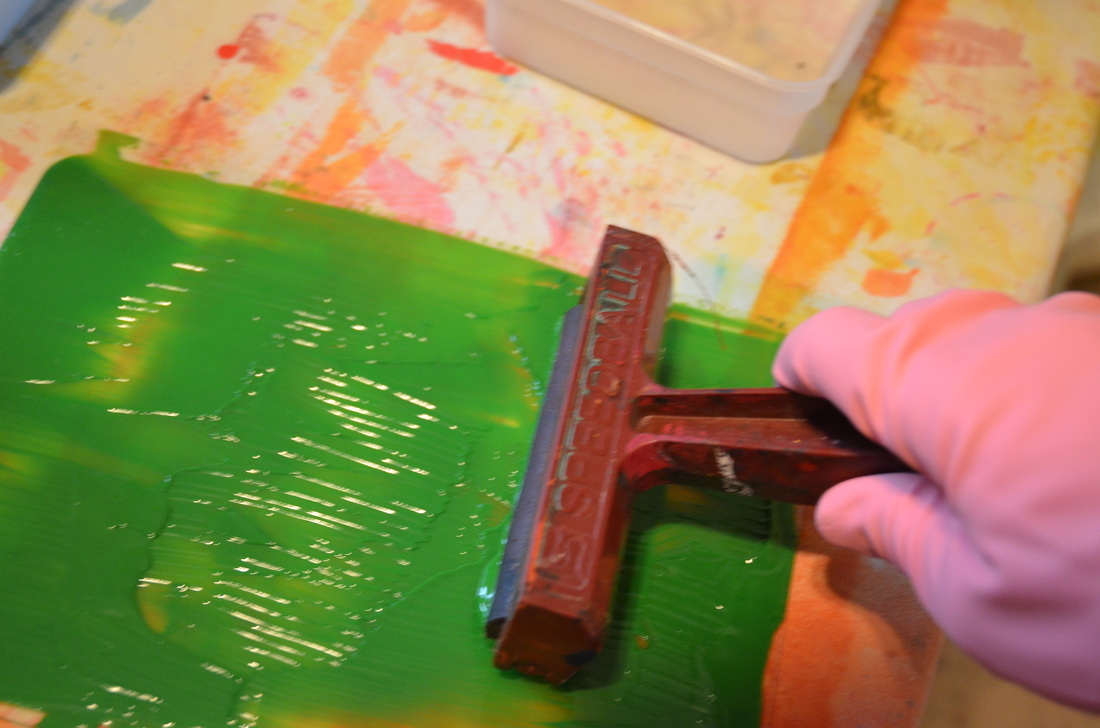
I had collected some interesting leaves the day before and laid them on the paint in a nice arrangement. 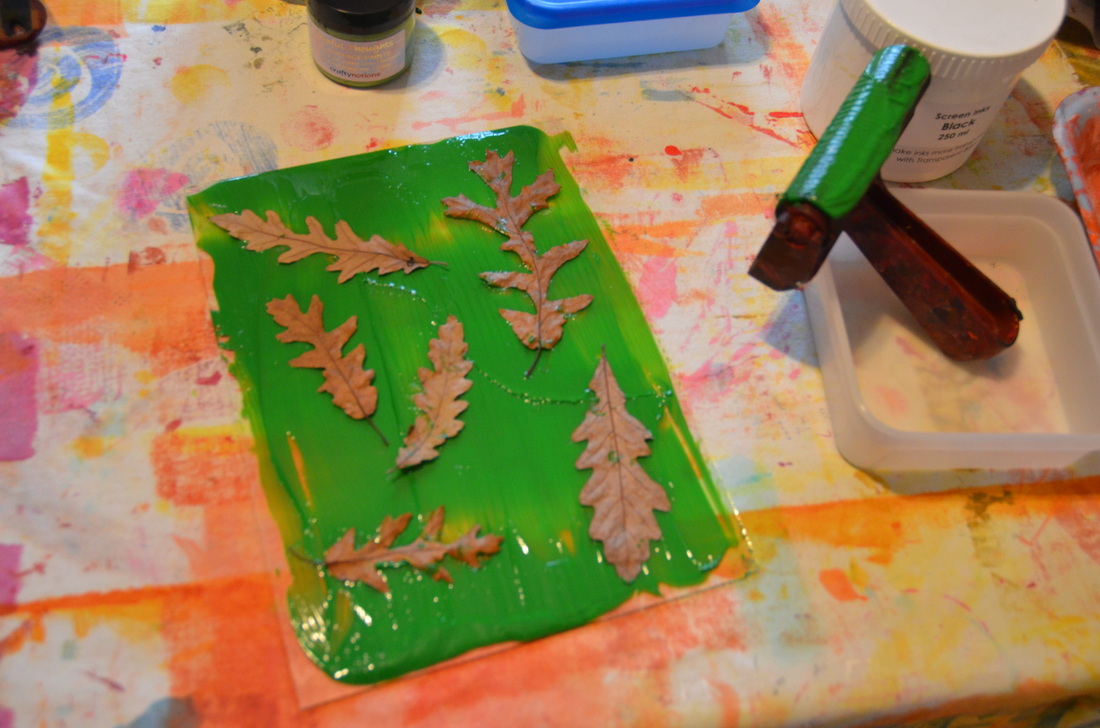
I carefully placed some 100% cotton prepared-for-dyeing fabric over the leaves and paint, 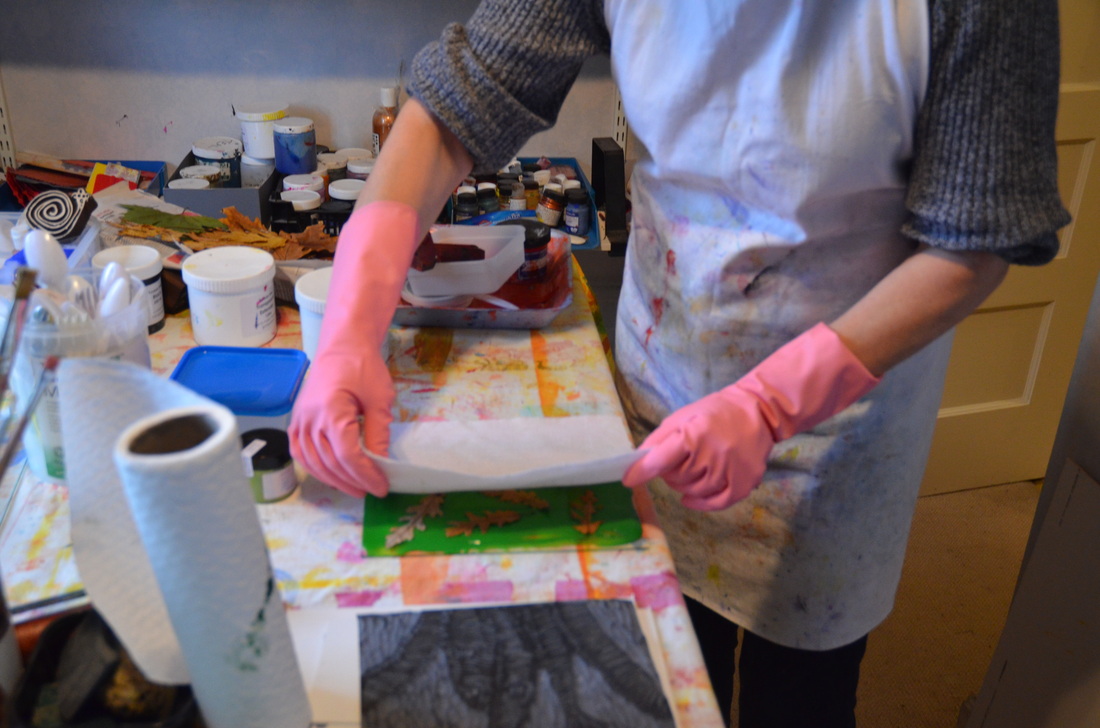
and gently smoothed the fabric on top with my hands. 
Then I used a brayer to make sure all the colour transferred to the fabric. You can see it coming through to the wrong side in this picture....... 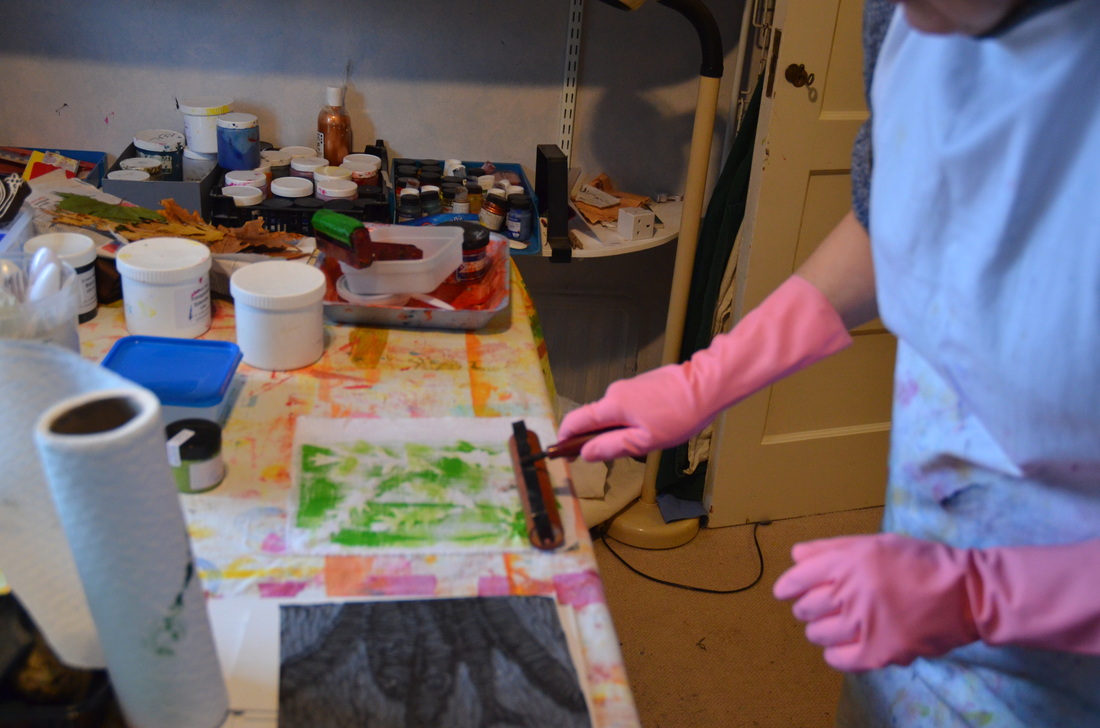
Finally the moment of truth! I picked up the two corners of the fabric and slowly lifted it off the printing plate to reveal.......... 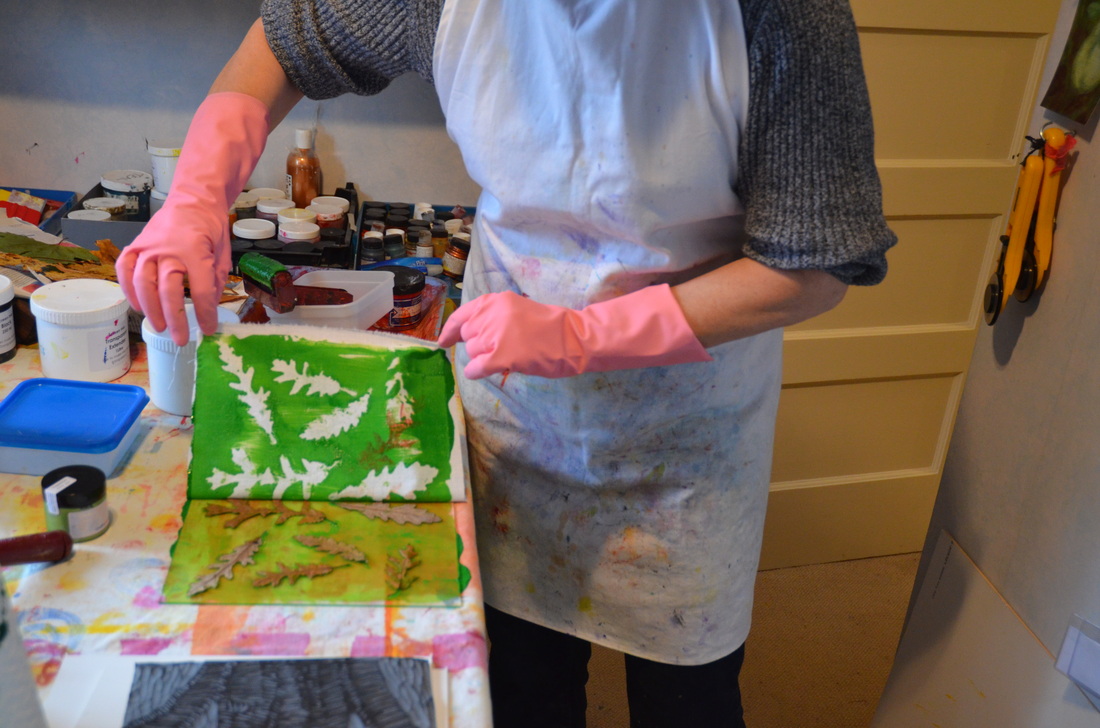
An excellent result! I didn't throw the leaves away, but picked them up with tweezers and placed them, painted side down, on another fabric. I brayered over them to transfer that paint to the fabric beneath. So I now have positive and negative images of those leaves! Next, I washed off the plate and brayered some new colour onto it. I used a chopstick to incise a design in the paint. 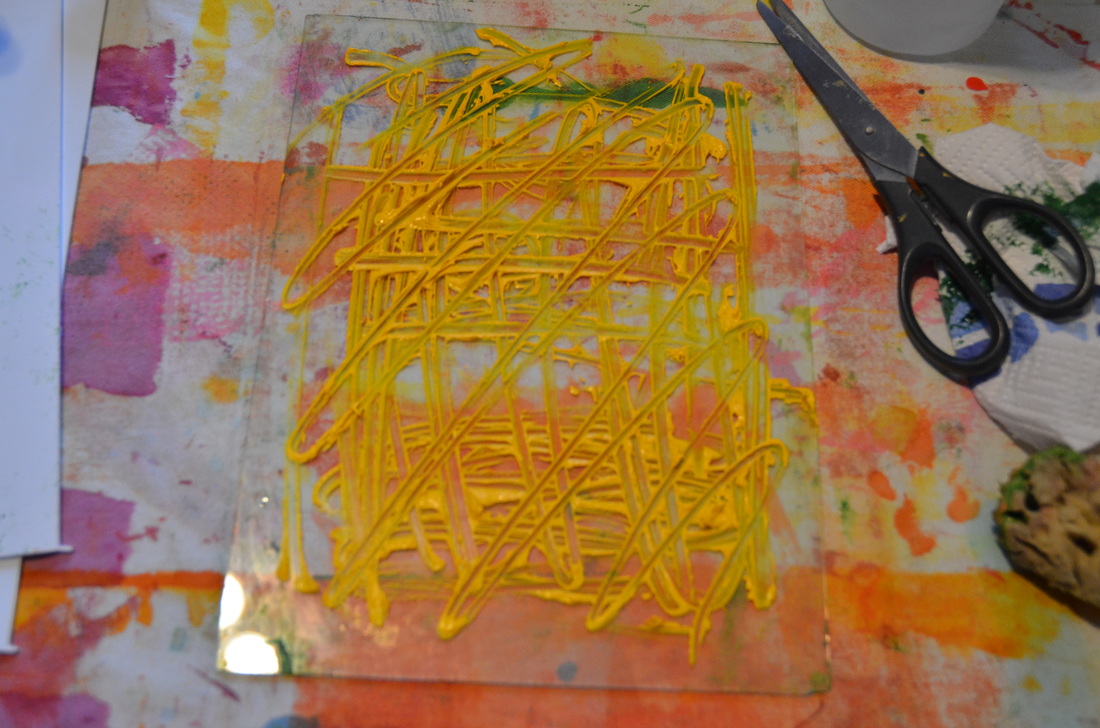
I added some red and black fabric paint as well and used my finger to move the colours around. Then I monoprinted a piece of fabric and this is the result: 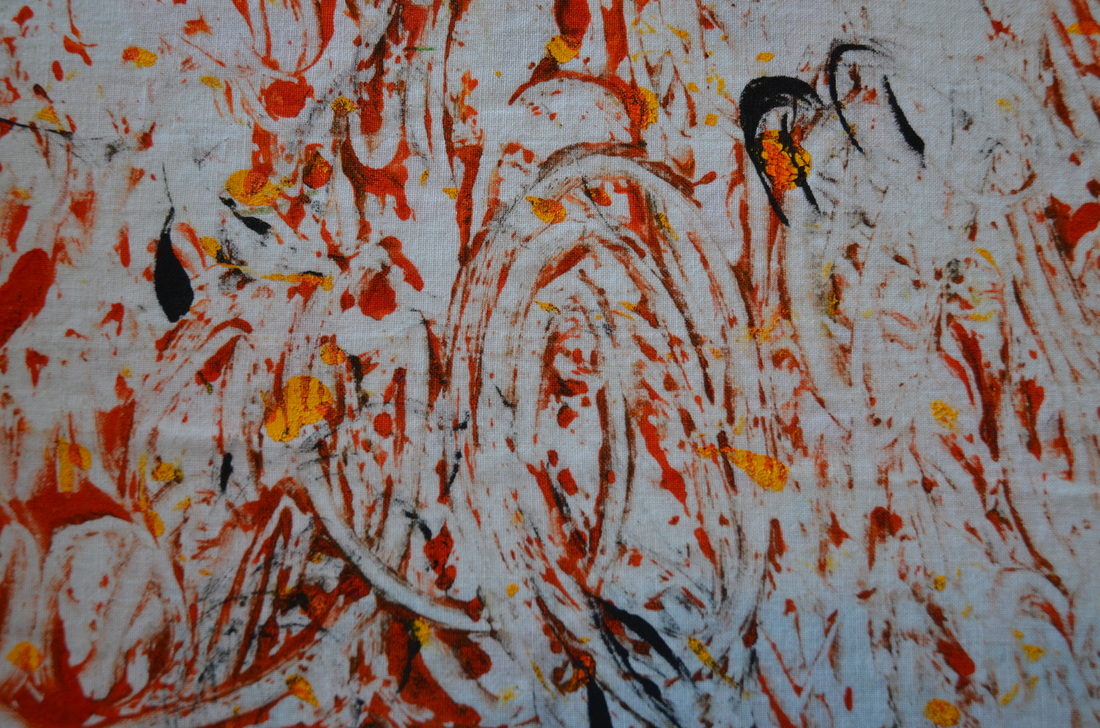
Next time I'll show you how I stamped a monoprint.
7 Comments
Louise Orwell
2/16/2013 09:52:46 am
Hi Linda great website and such beautiful photographs. You look like you had a great time monoprinting. What are you going to do with your painted fabric? Many thanks for sharing. Best Wishes
Linda Seward
2/16/2013 01:18:08 pm
I will make something amazing once I finish my book. Watch this space!
Judy
2/16/2013 01:01:27 pm
The possibilities seem endless. How is the fabric treated after the paint dries? Do you wash the fabric or heat set the paint? Can the finished pieces be used with commercial textiles or are they best used with other mono printed pieces?
Linda Seward
2/16/2013 01:23:48 pm
Depending on the colour (textile paint) used, you either iron it or let the paint set for a few days to make it permanent--read the instructions for the paint you are using. I usually iron the fabric a few days after monoprinting just to make sure. The finished pieces can be used with any other textiles--once they are set, they are permanent, so there are no worries about fading, bleeding, etc The fabrics I use for printing are basic quilt making fabrics, so the same weight/fiber content. Try it--you'll love it! The real problem is what to do with all the fabric you are creating!
Dorothy
2/17/2013 03:53:27 am
The fabric looks wonderful-- this is going to be a fabulous book!
Linda Seward
2/17/2013 08:26:35 am
Thanks for the encouragement. Writing this book is a steep learning curve for me, but I've had some fantastic teachers!
Annlee Landman
3/4/2013 05:26:35 pm
This looks like a lot of fun, and what a unique way to add individuality and texture to your work! I can see potential for using the fabric creations in landscape and art quilts - but also for decorative pillows, totes or even aprons if canvas or heavy twill was used as the base fabric! How lucky to have this opportunity to explore so many new techniques!! Your comment will be posted after it is approved.
Leave a Reply. |
Archives
March 2023
Categories
All
|
 RSS Feed